
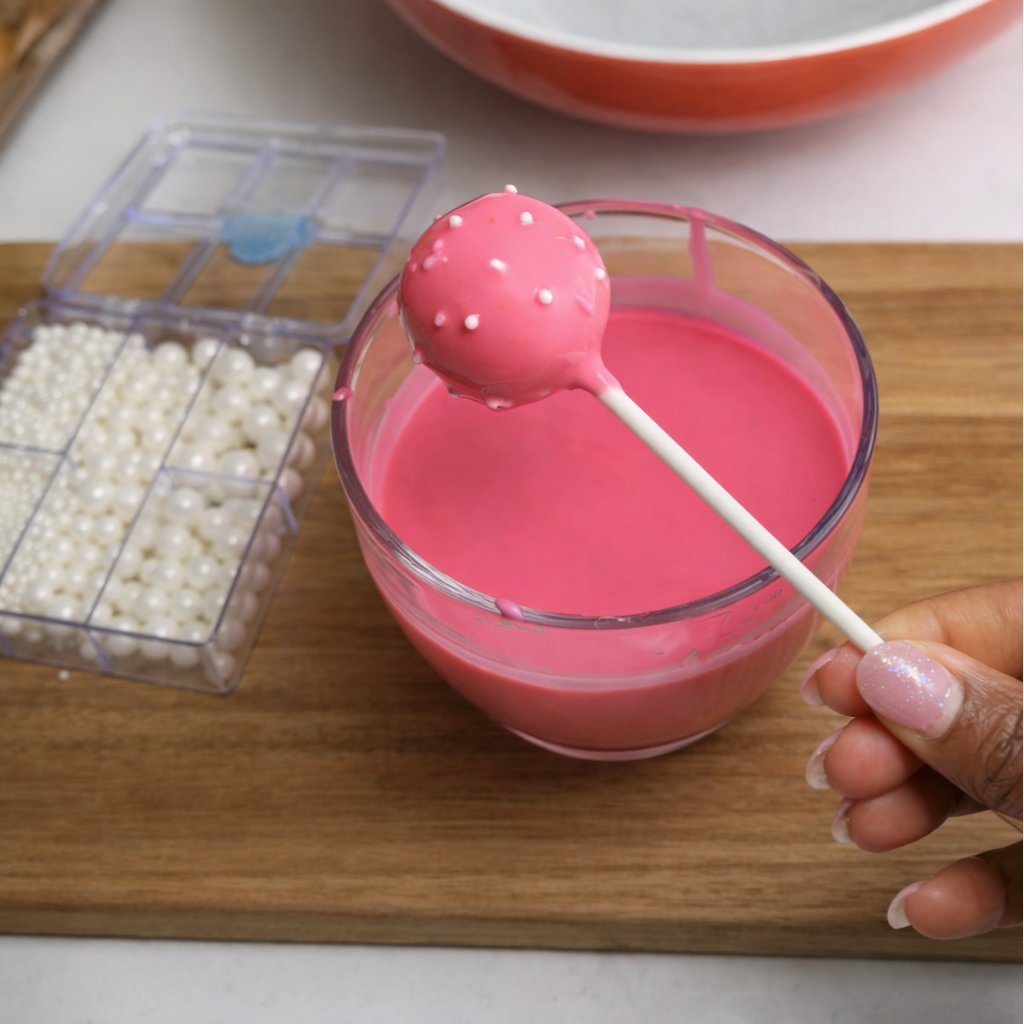
If you've ever grabbed a Birthday Cake Pop from Starbucks "just to hold you over," you already know the vibe: soft vanilla cake, that truffle‑like center, and the glossy pink shell with sprinkles. My kids love them, and honestly… so do I.
But here's the thing: making them at home tastes better, costs less, and you get full control over ingredients. Plus, they're so cute for parties, lunchbox treats, or a little mid‑week joy.
Today I'm sharing my from‑scratch version - no boxed cake, no shortcuts - just a tender vanilla cake, a small batch of buttercream, and smooth pink chocolate melts that give you that Starbucks finish.
Why This Recipe Works
This recipe is designed to be:
Foolproof - step‑by‑step with no guesswork
From scratch - real butter, real vanilla, real cake
Perfectly textured - soft, doughy, and never dry
Beginner‑friendly - no special tools needed
Freezer‑friendly - roll now, dip later
Kid‑approved - pink, fun, and party‑ready
Ingredients for Homemade Starbucks Cake Pops
Vanilla Cake
1 ¼ cups all-purpose flour
1 cup granulated sugar
1 ¼ teaspoon baking powder
¼ teaspoon fine salt
½ cup unsalted butter, softened
2 large eggs
1 teaspoon vanilla extract
½ cup whole milk (oat milk works too)
Buttercream
3 tablespoon unsalted butter, softened
1 cup powdered sugar
1 teaspoon vanilla extract
1-2 teaspoon milk
Coating
Pink chocolate melts
1 tablespoon coconut oil or shortening
White nonpareils
Cake pop sticks
How to Make Starbucks Cake Pops at Home
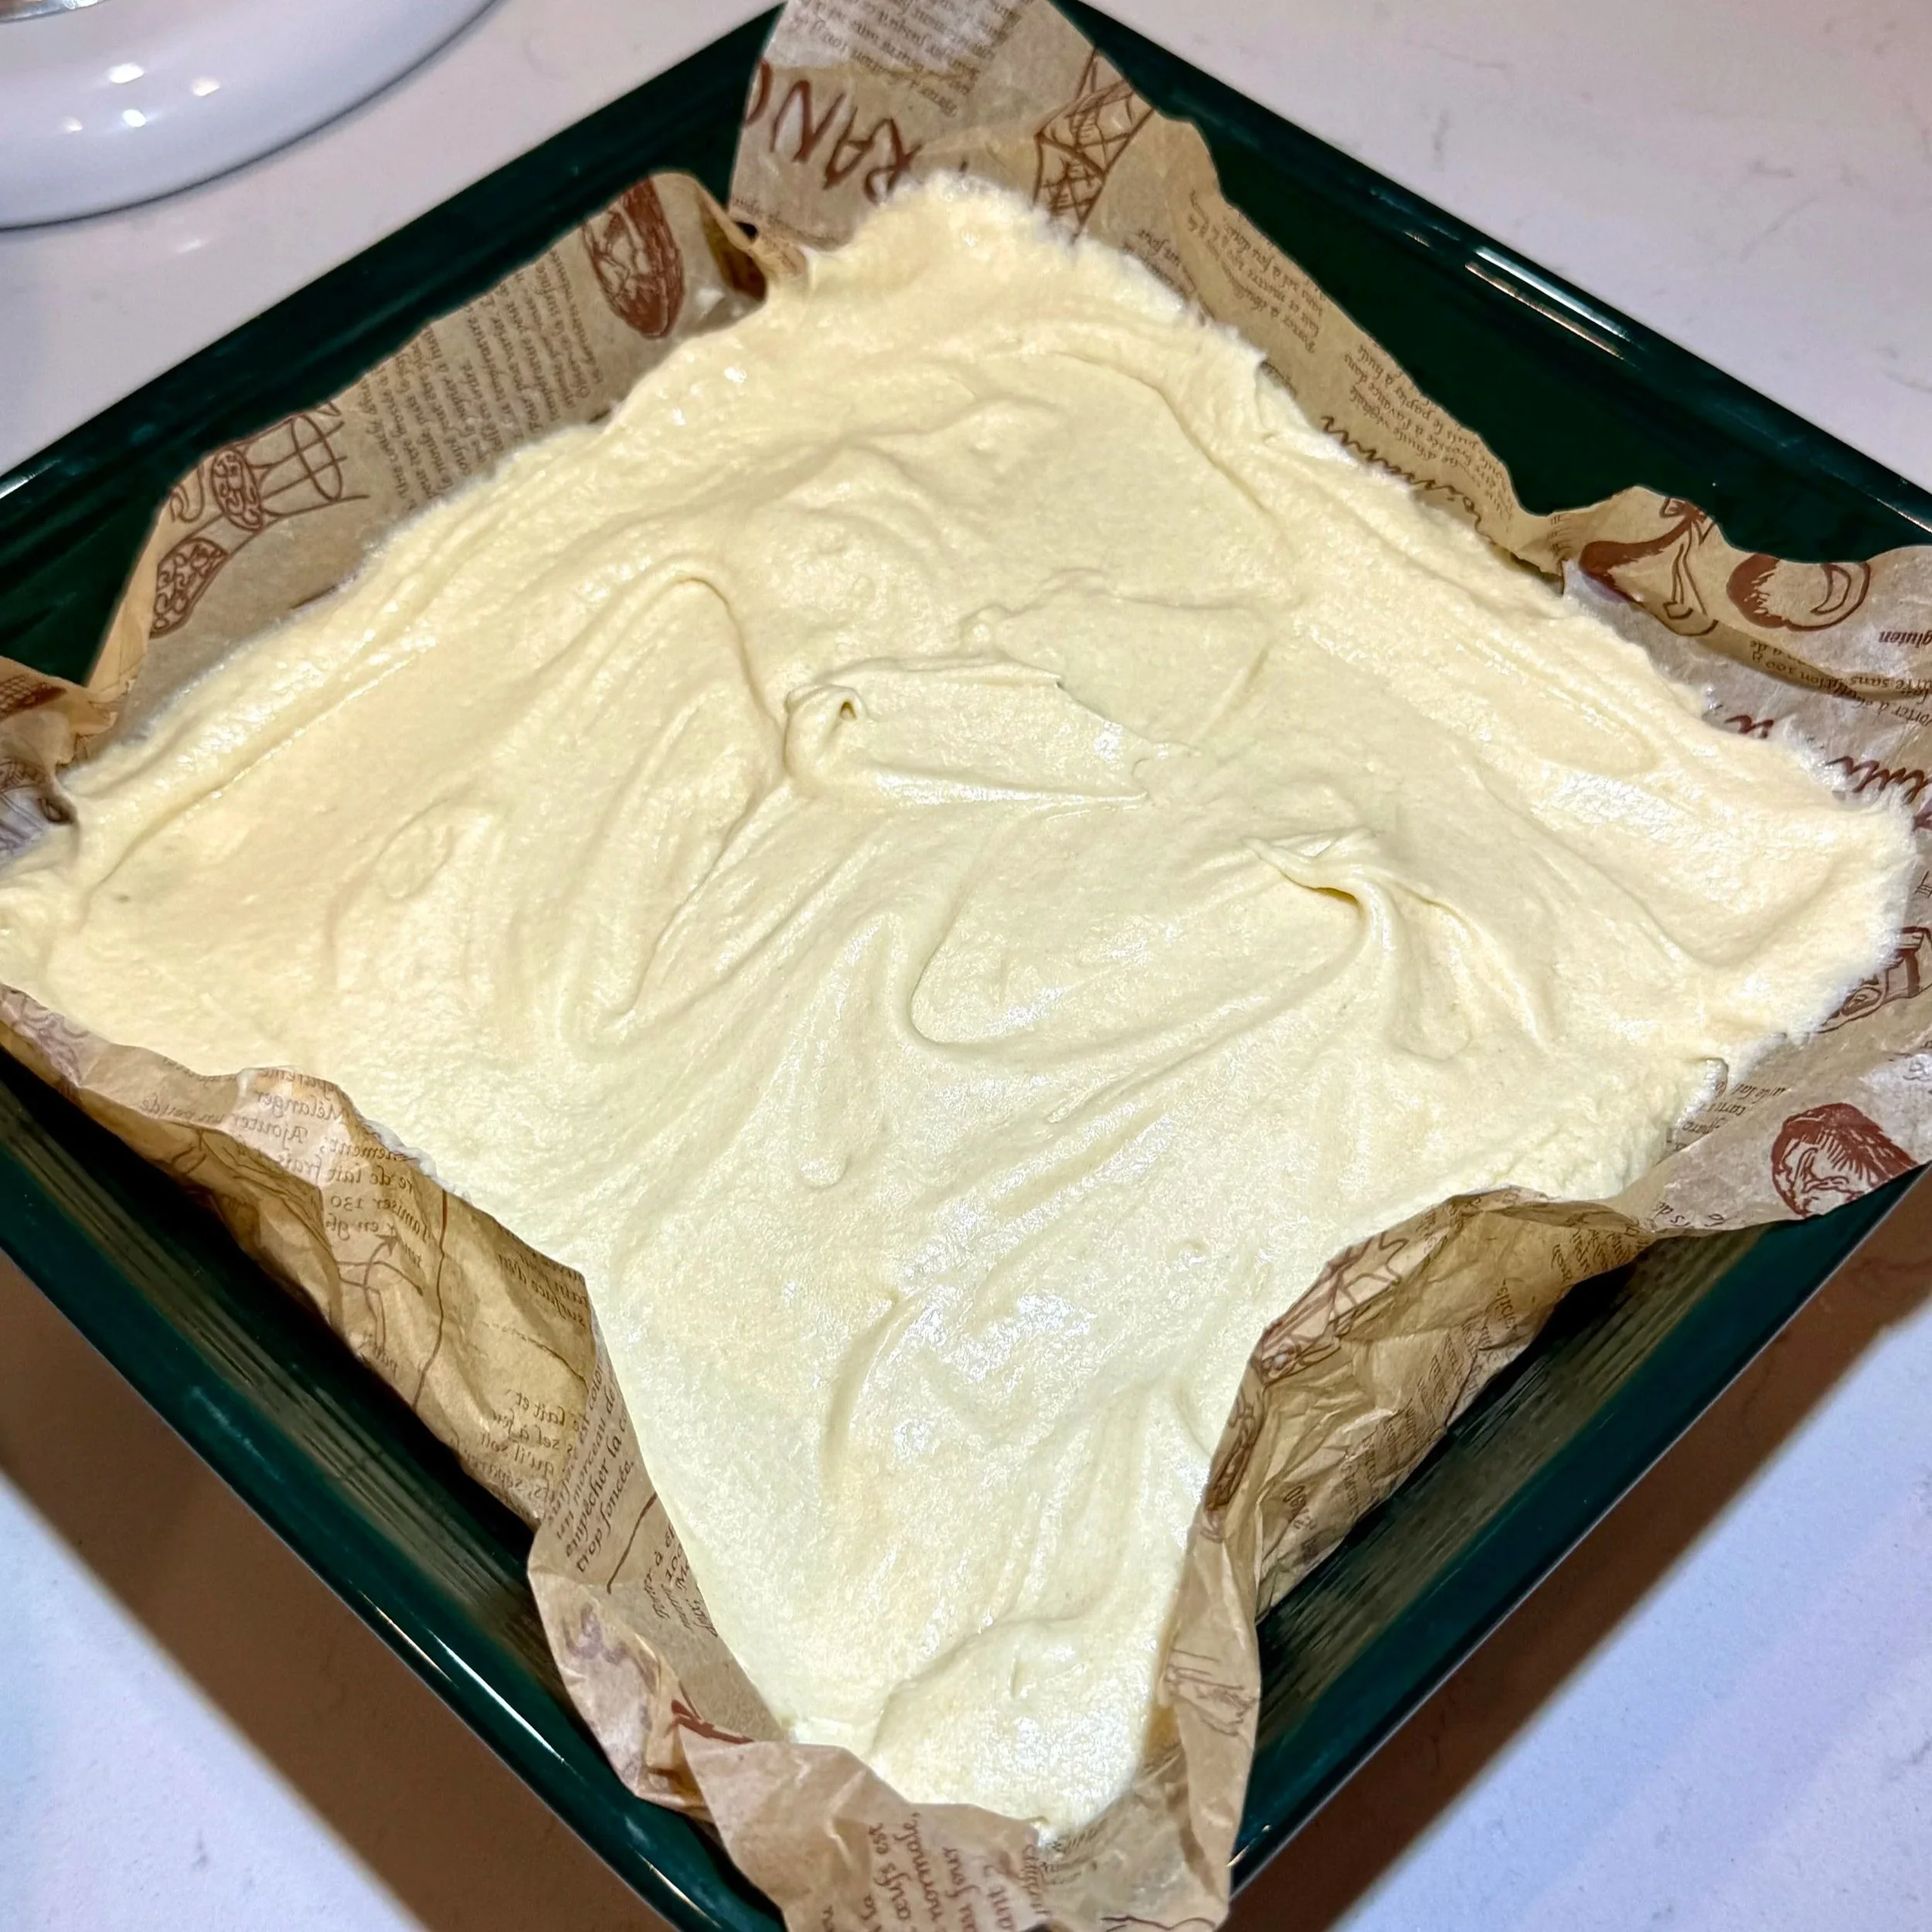
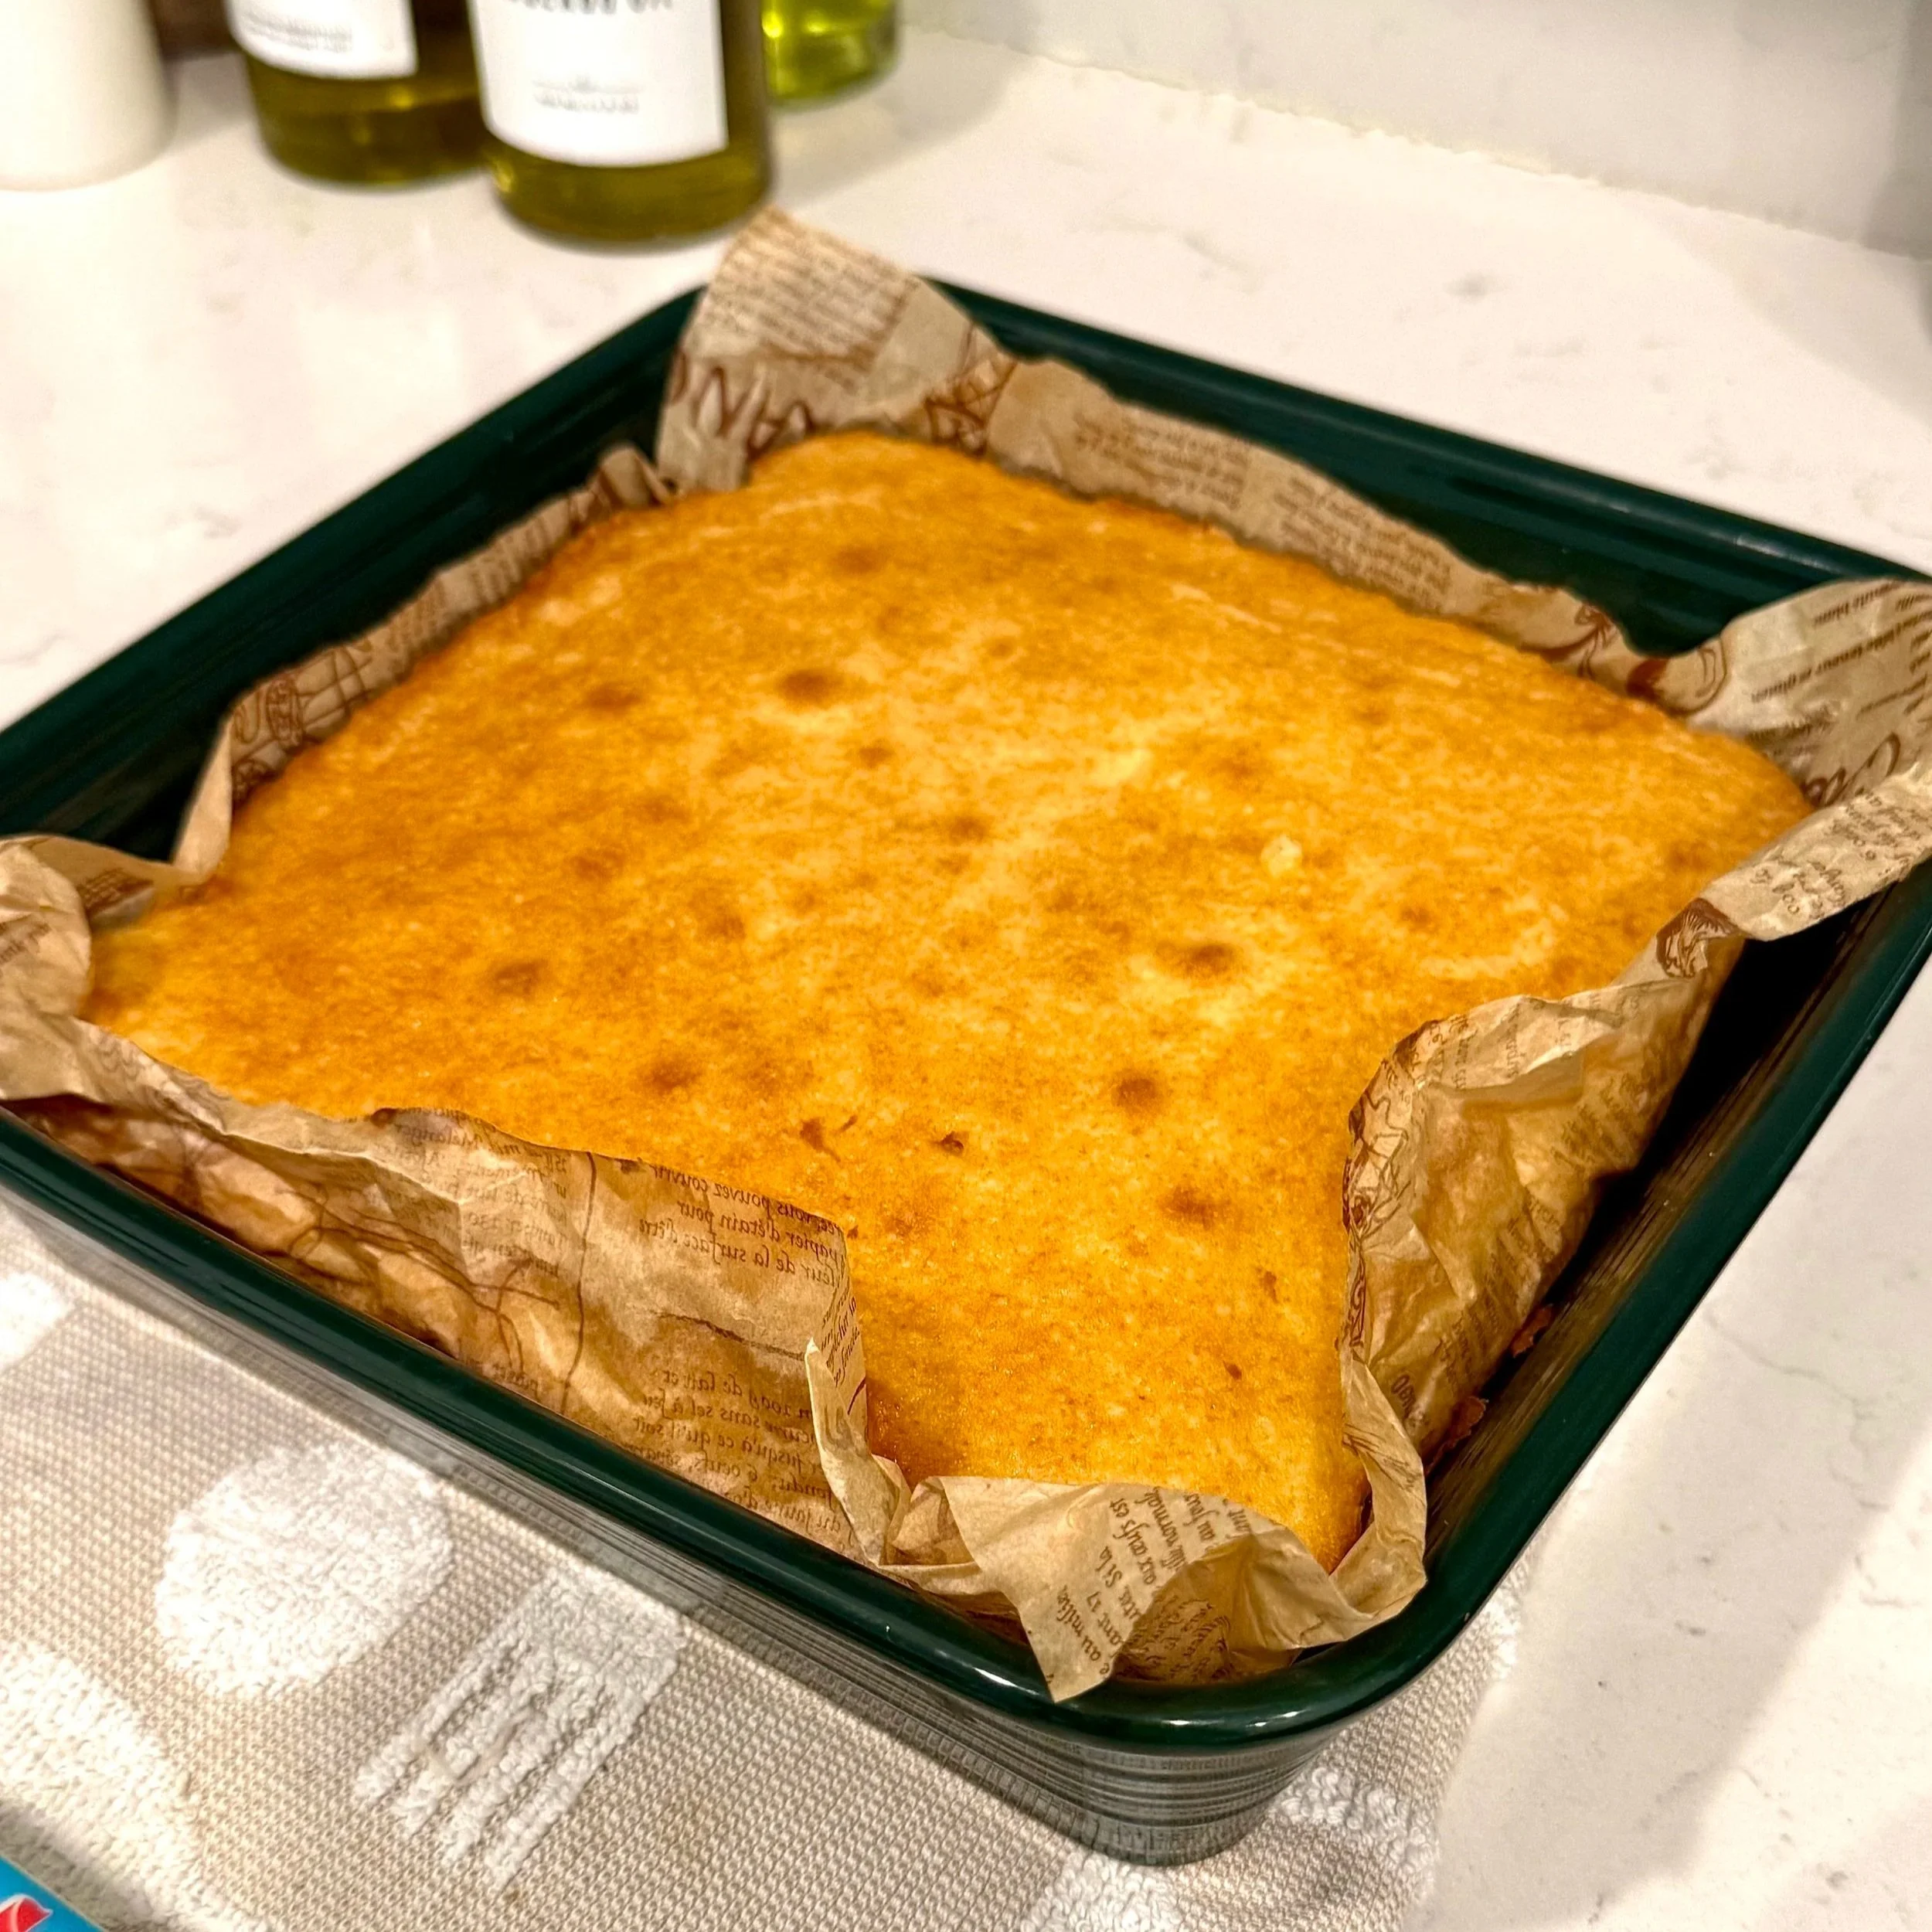
1. Bake the Vanilla Cake
Preheat oven to 350°F.
Line an 8x8 pan with parchment.
Whisk flour, baking powder, and salt.
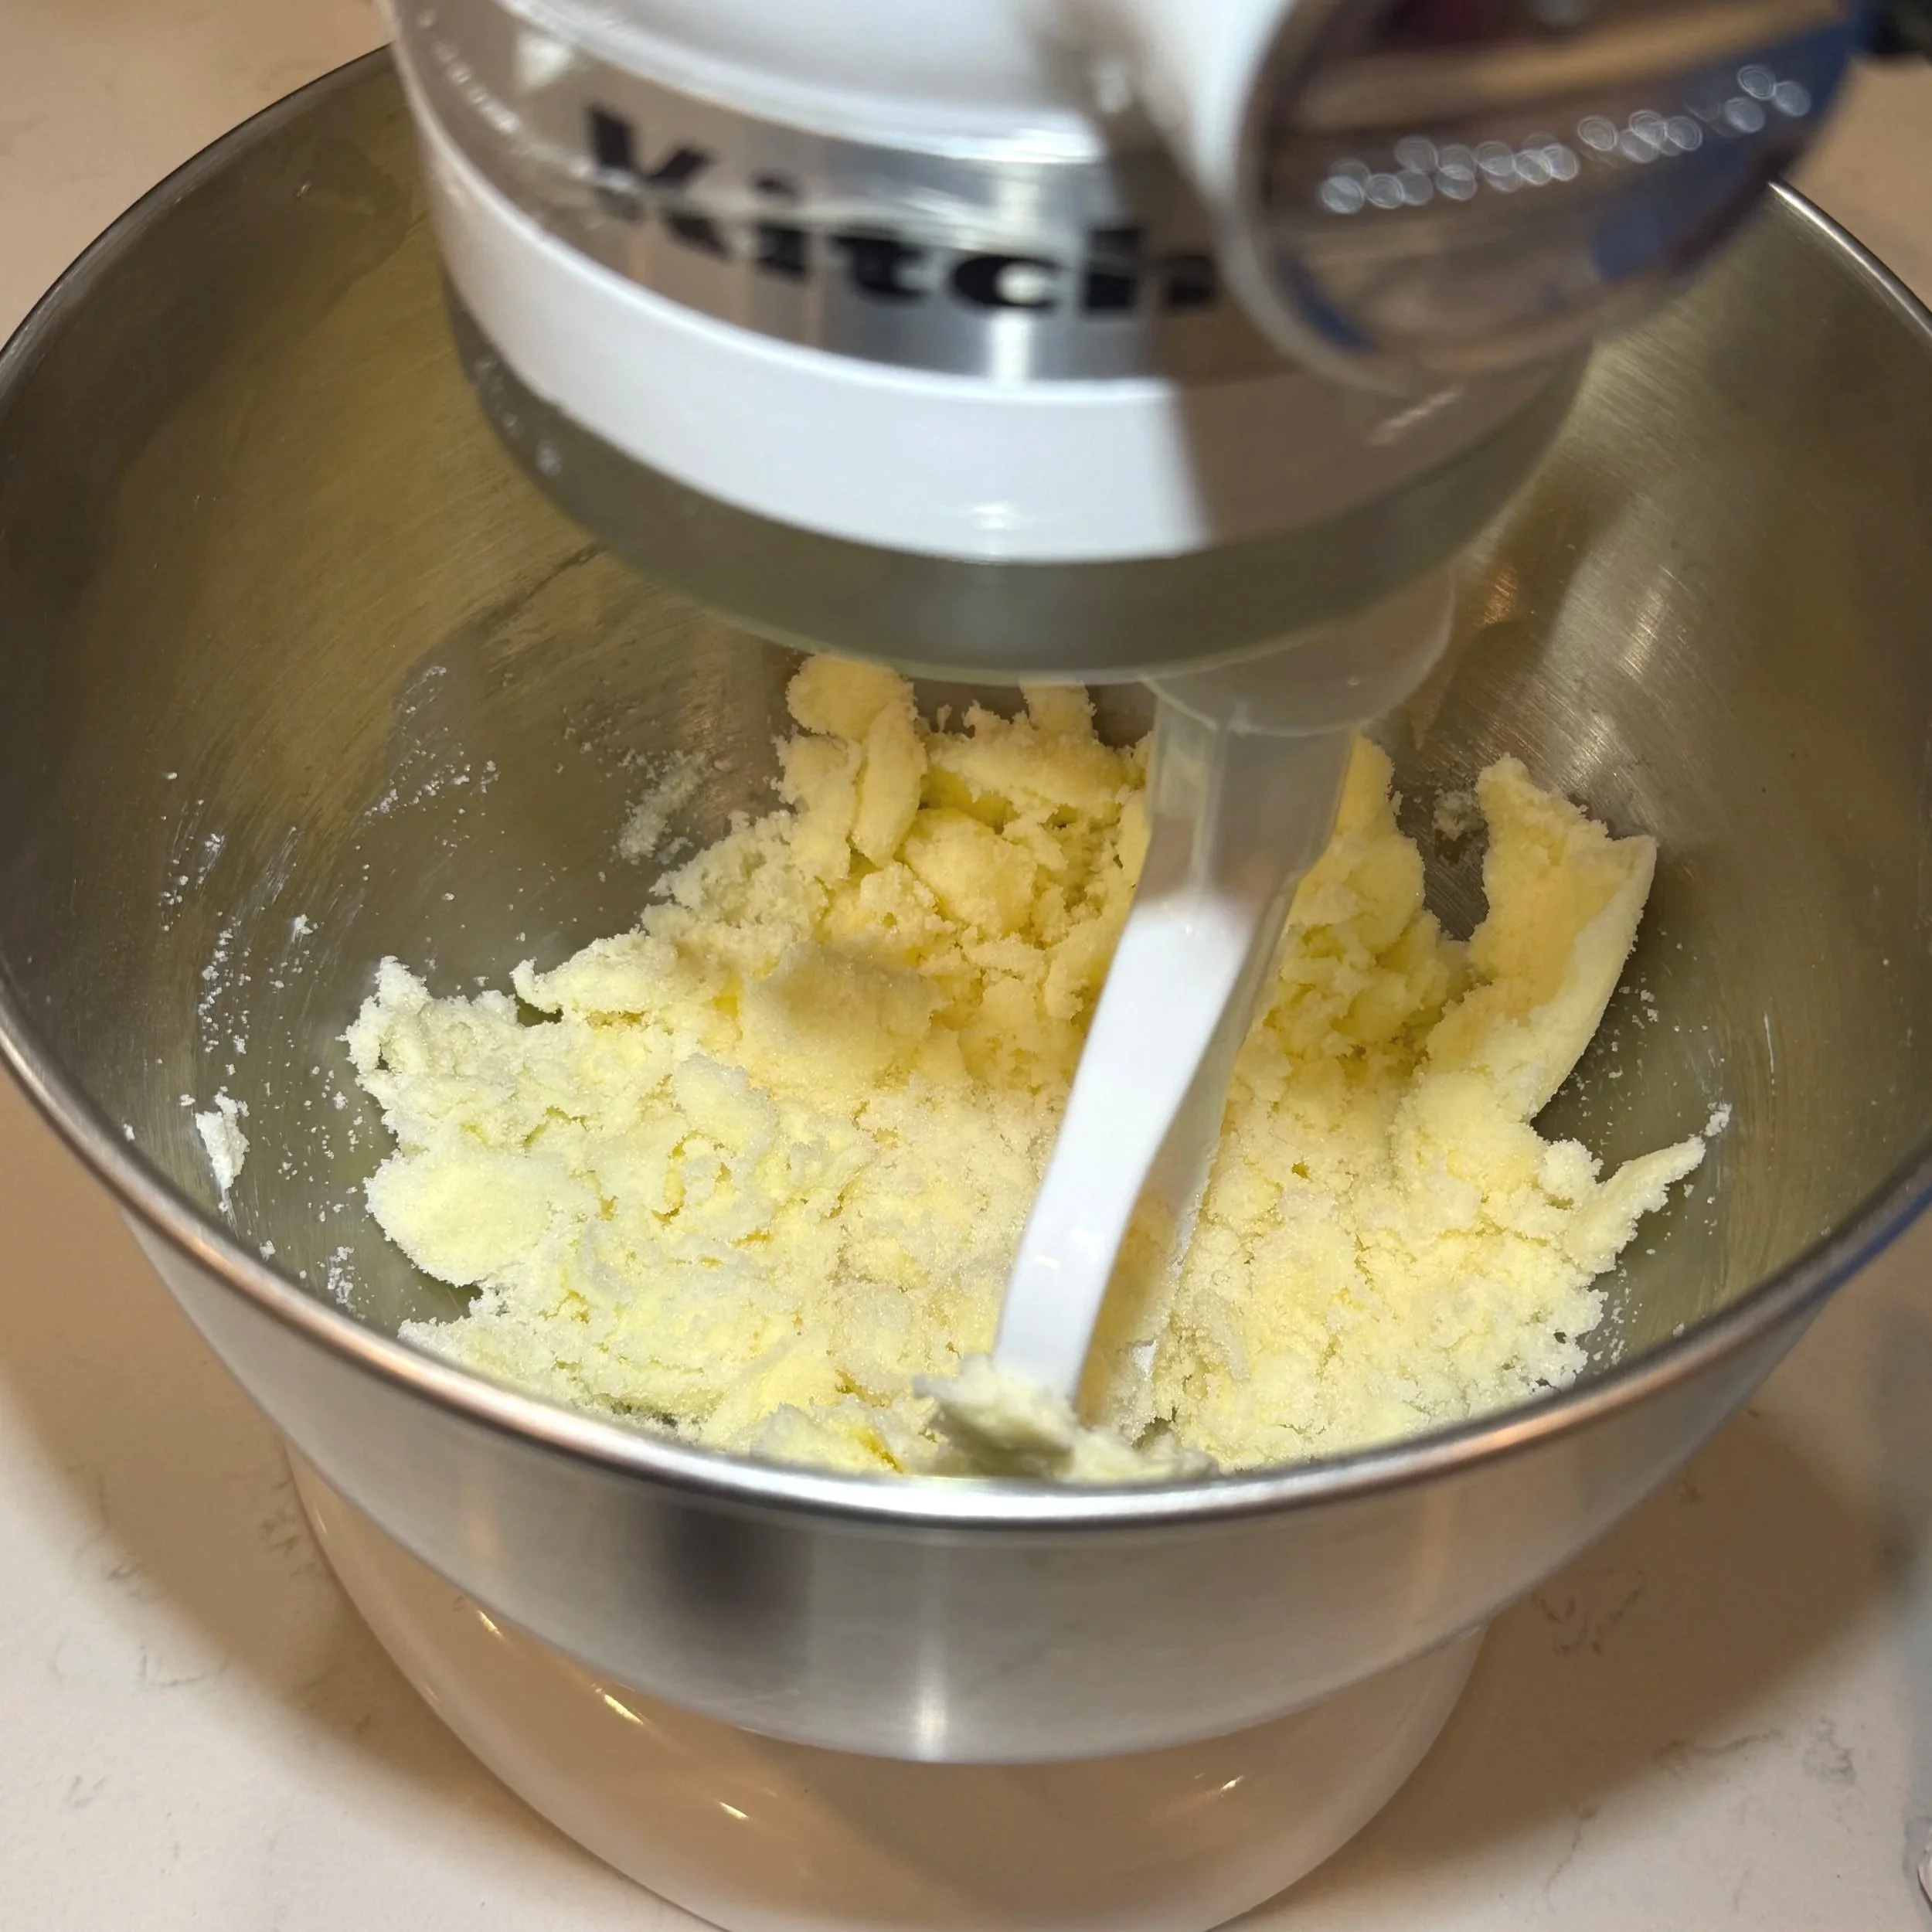
Cream butter + sugar until fluffy.
Add eggs and vanilla.
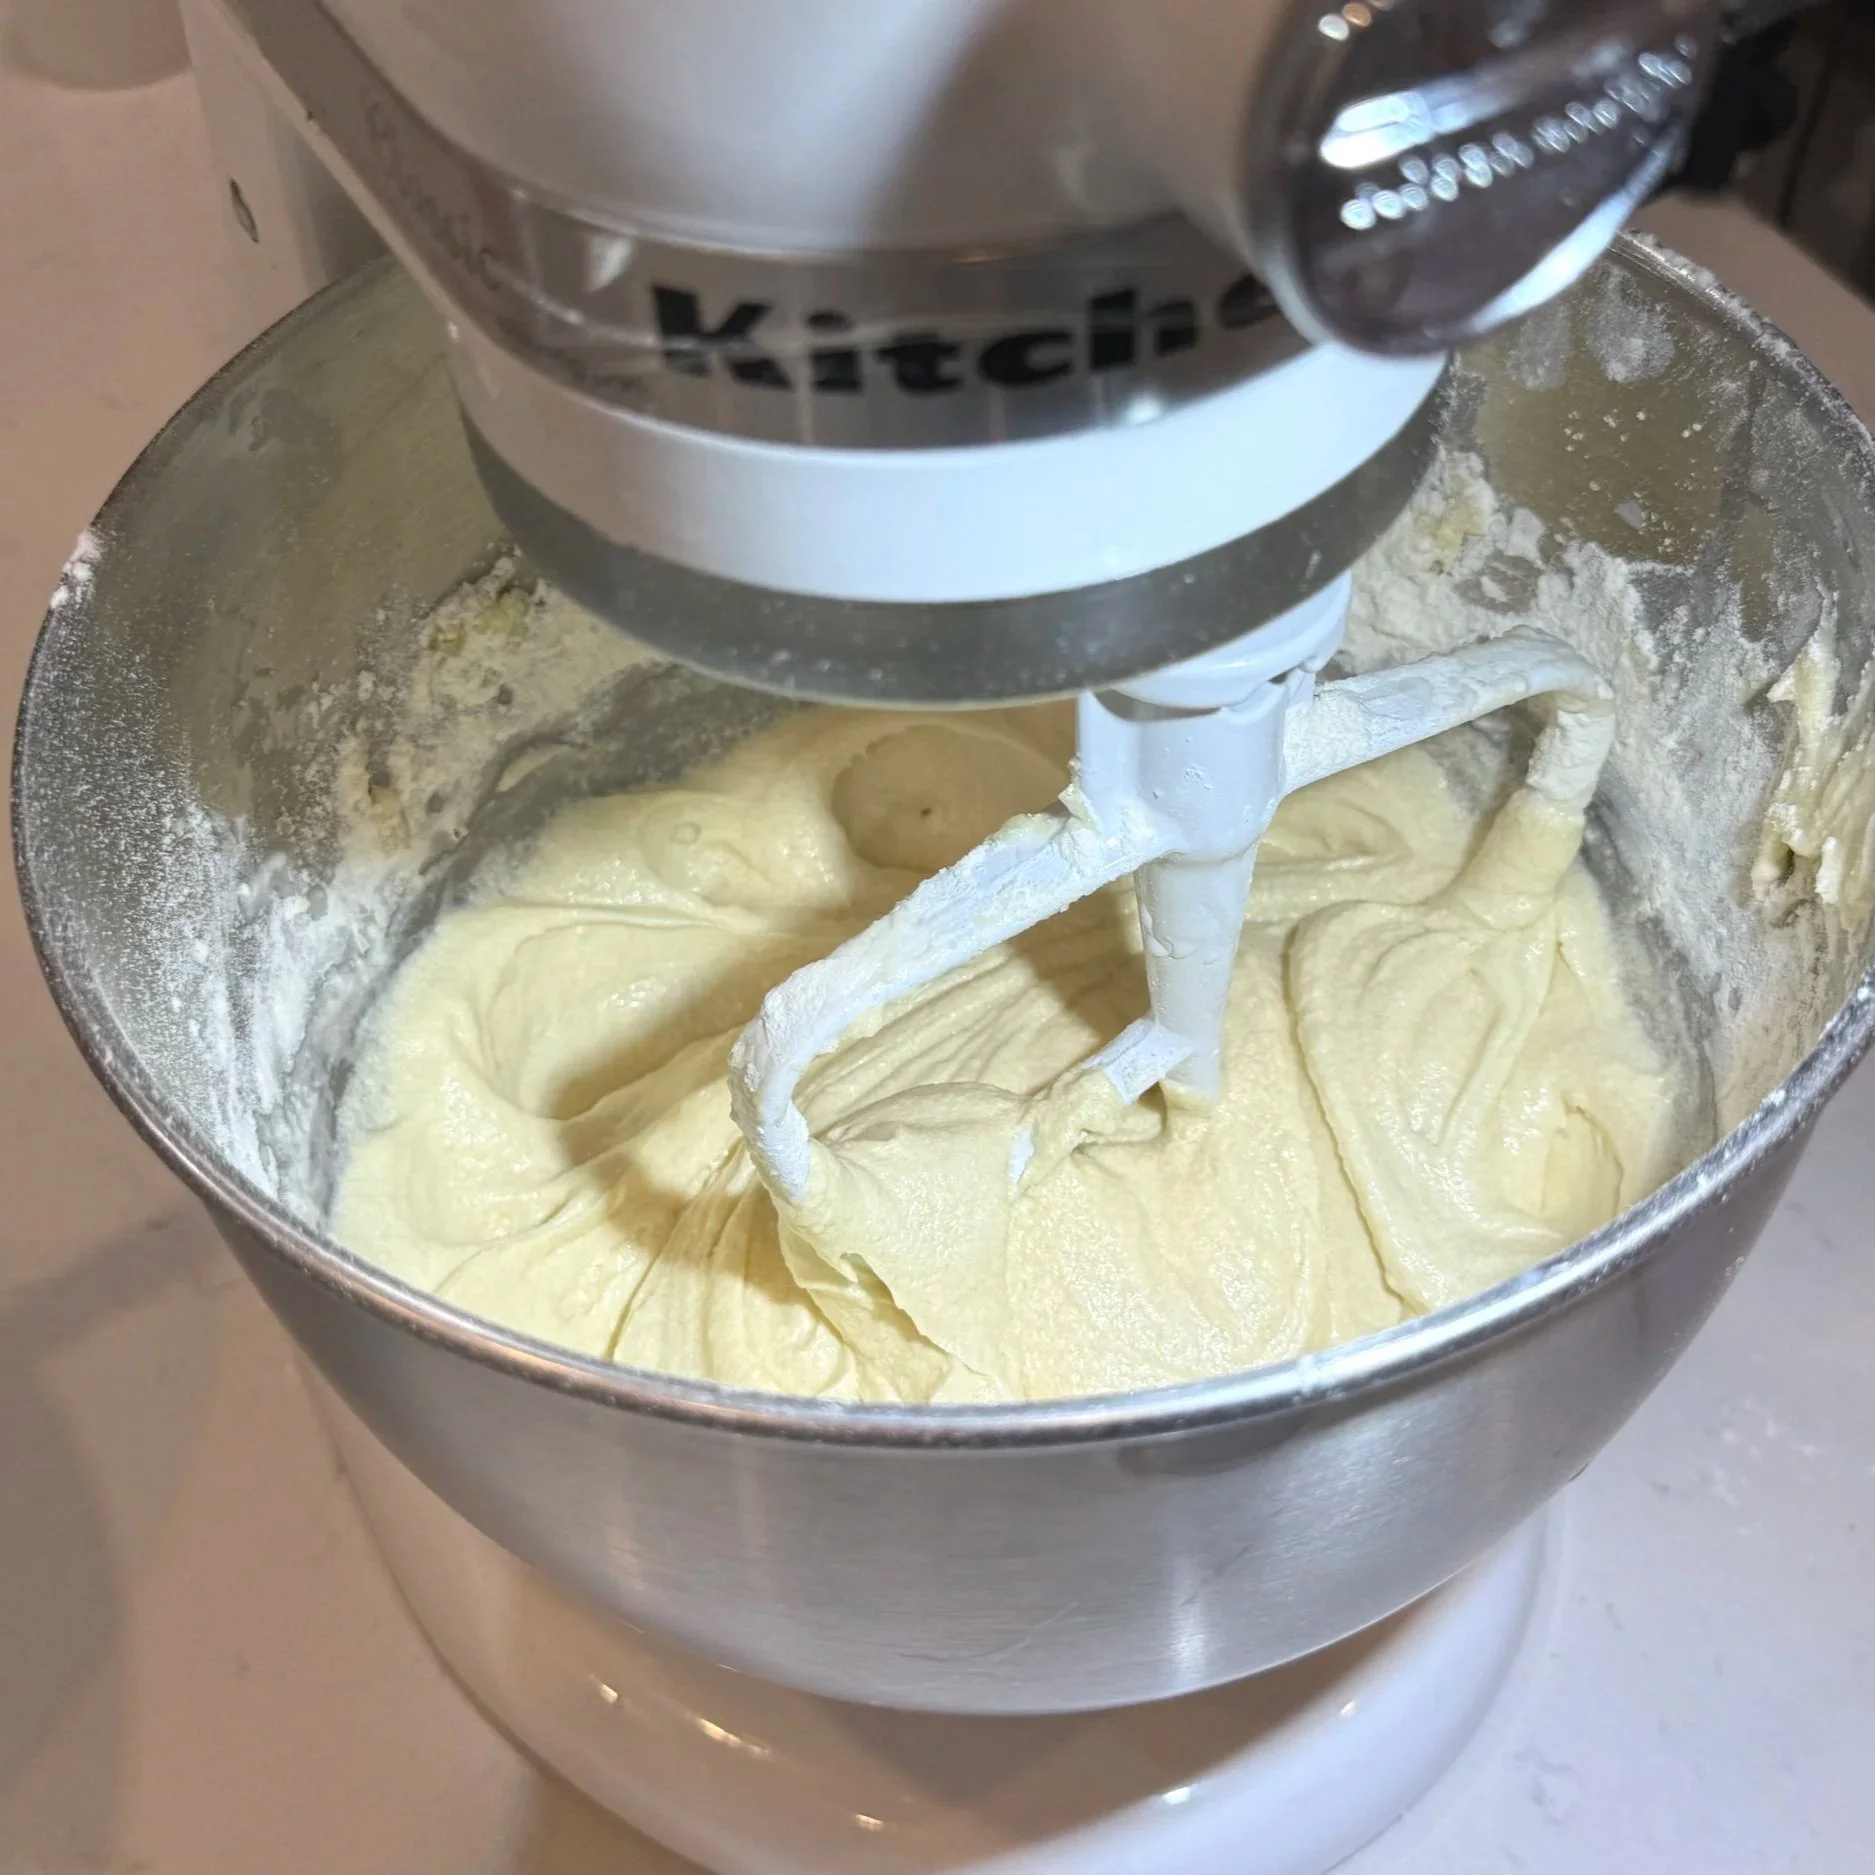
Alternate dry ingredients with milk.
Bake 22-26 minutes.
Cool completely.
Why this matters: Warm cake = gummy dough. Cool cake = perfect truffle texture.
2. Make the Buttercream
Beat butter until creamy. Add powdered sugar and vanilla. Add milk until smooth and soft - not stiff.
Tip: You only need a little frosting. Too much = mushy pops.
3. Form the Cake Pop Dough
Crumble the cooled cake into fine crumbs.
Add 2-3 tablespoons of frosting.
Mix with your hands until it forms a soft dough.
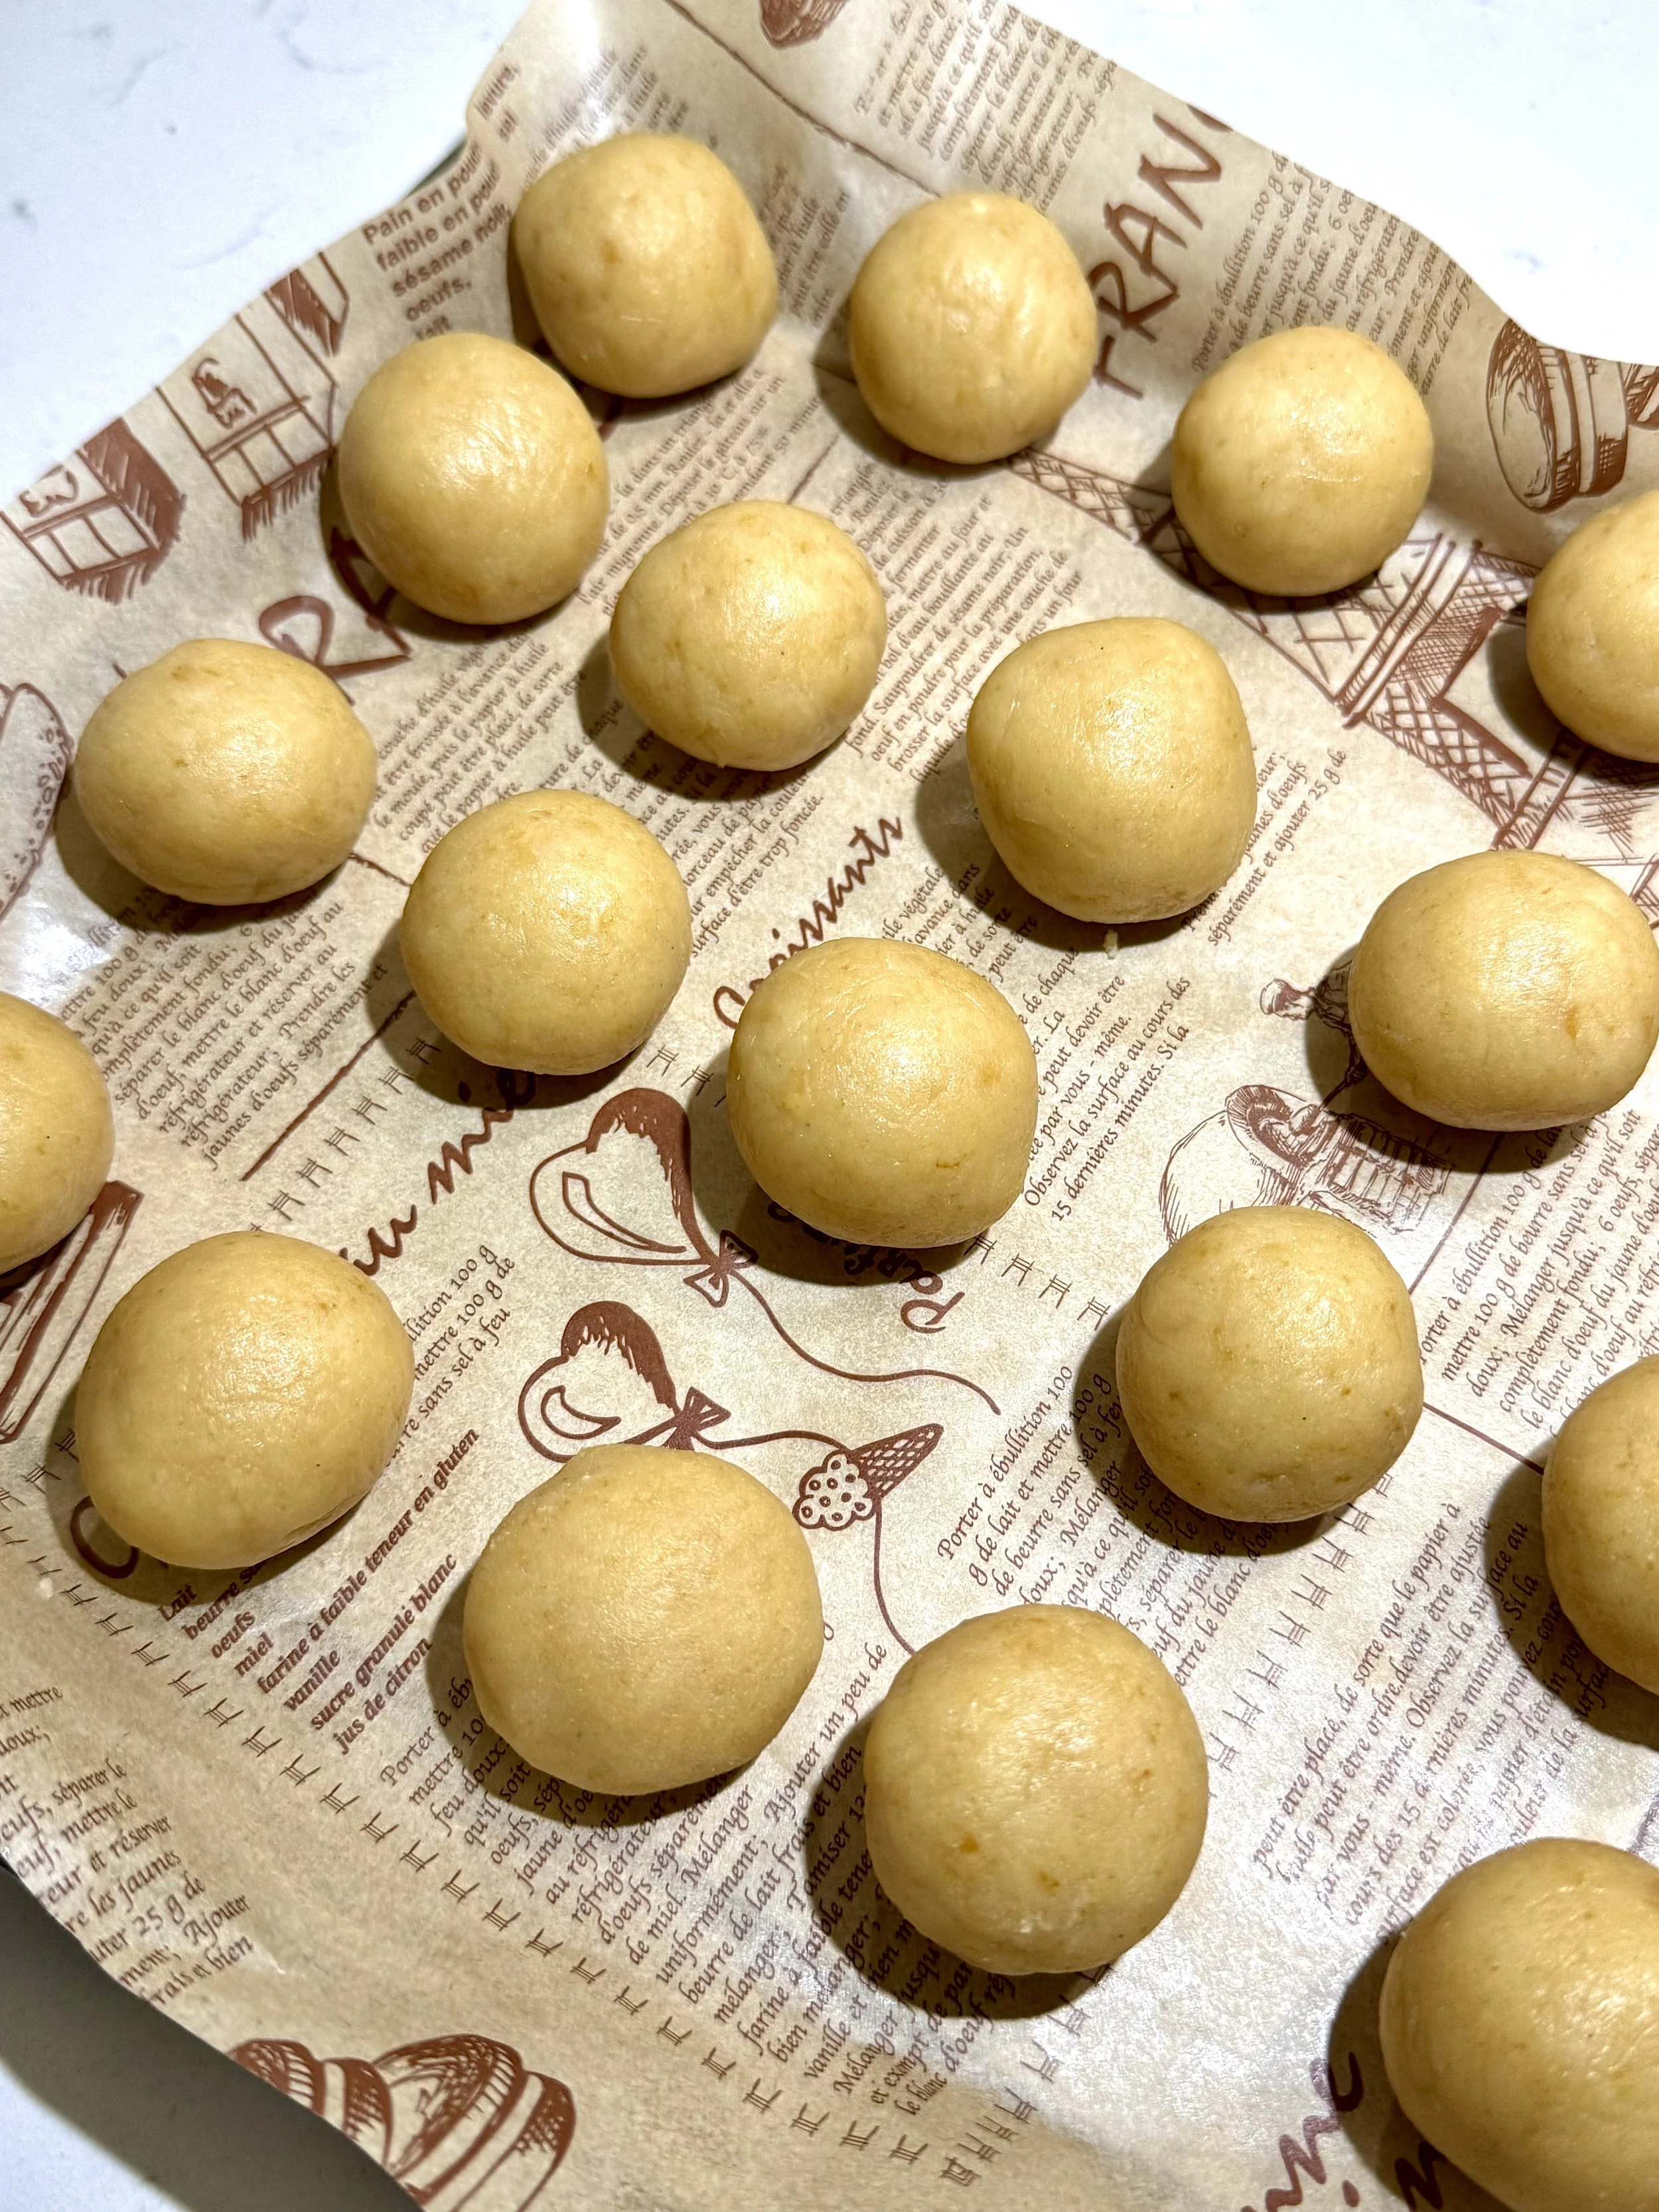
Roll into tight 1‑tablespoon balls.
Chill 10-15 minutes.
Texture check:
Cracking? Add ½ teaspoon frosting.
Sticky? Chill 5 minutes.
4. Insert the Sticks
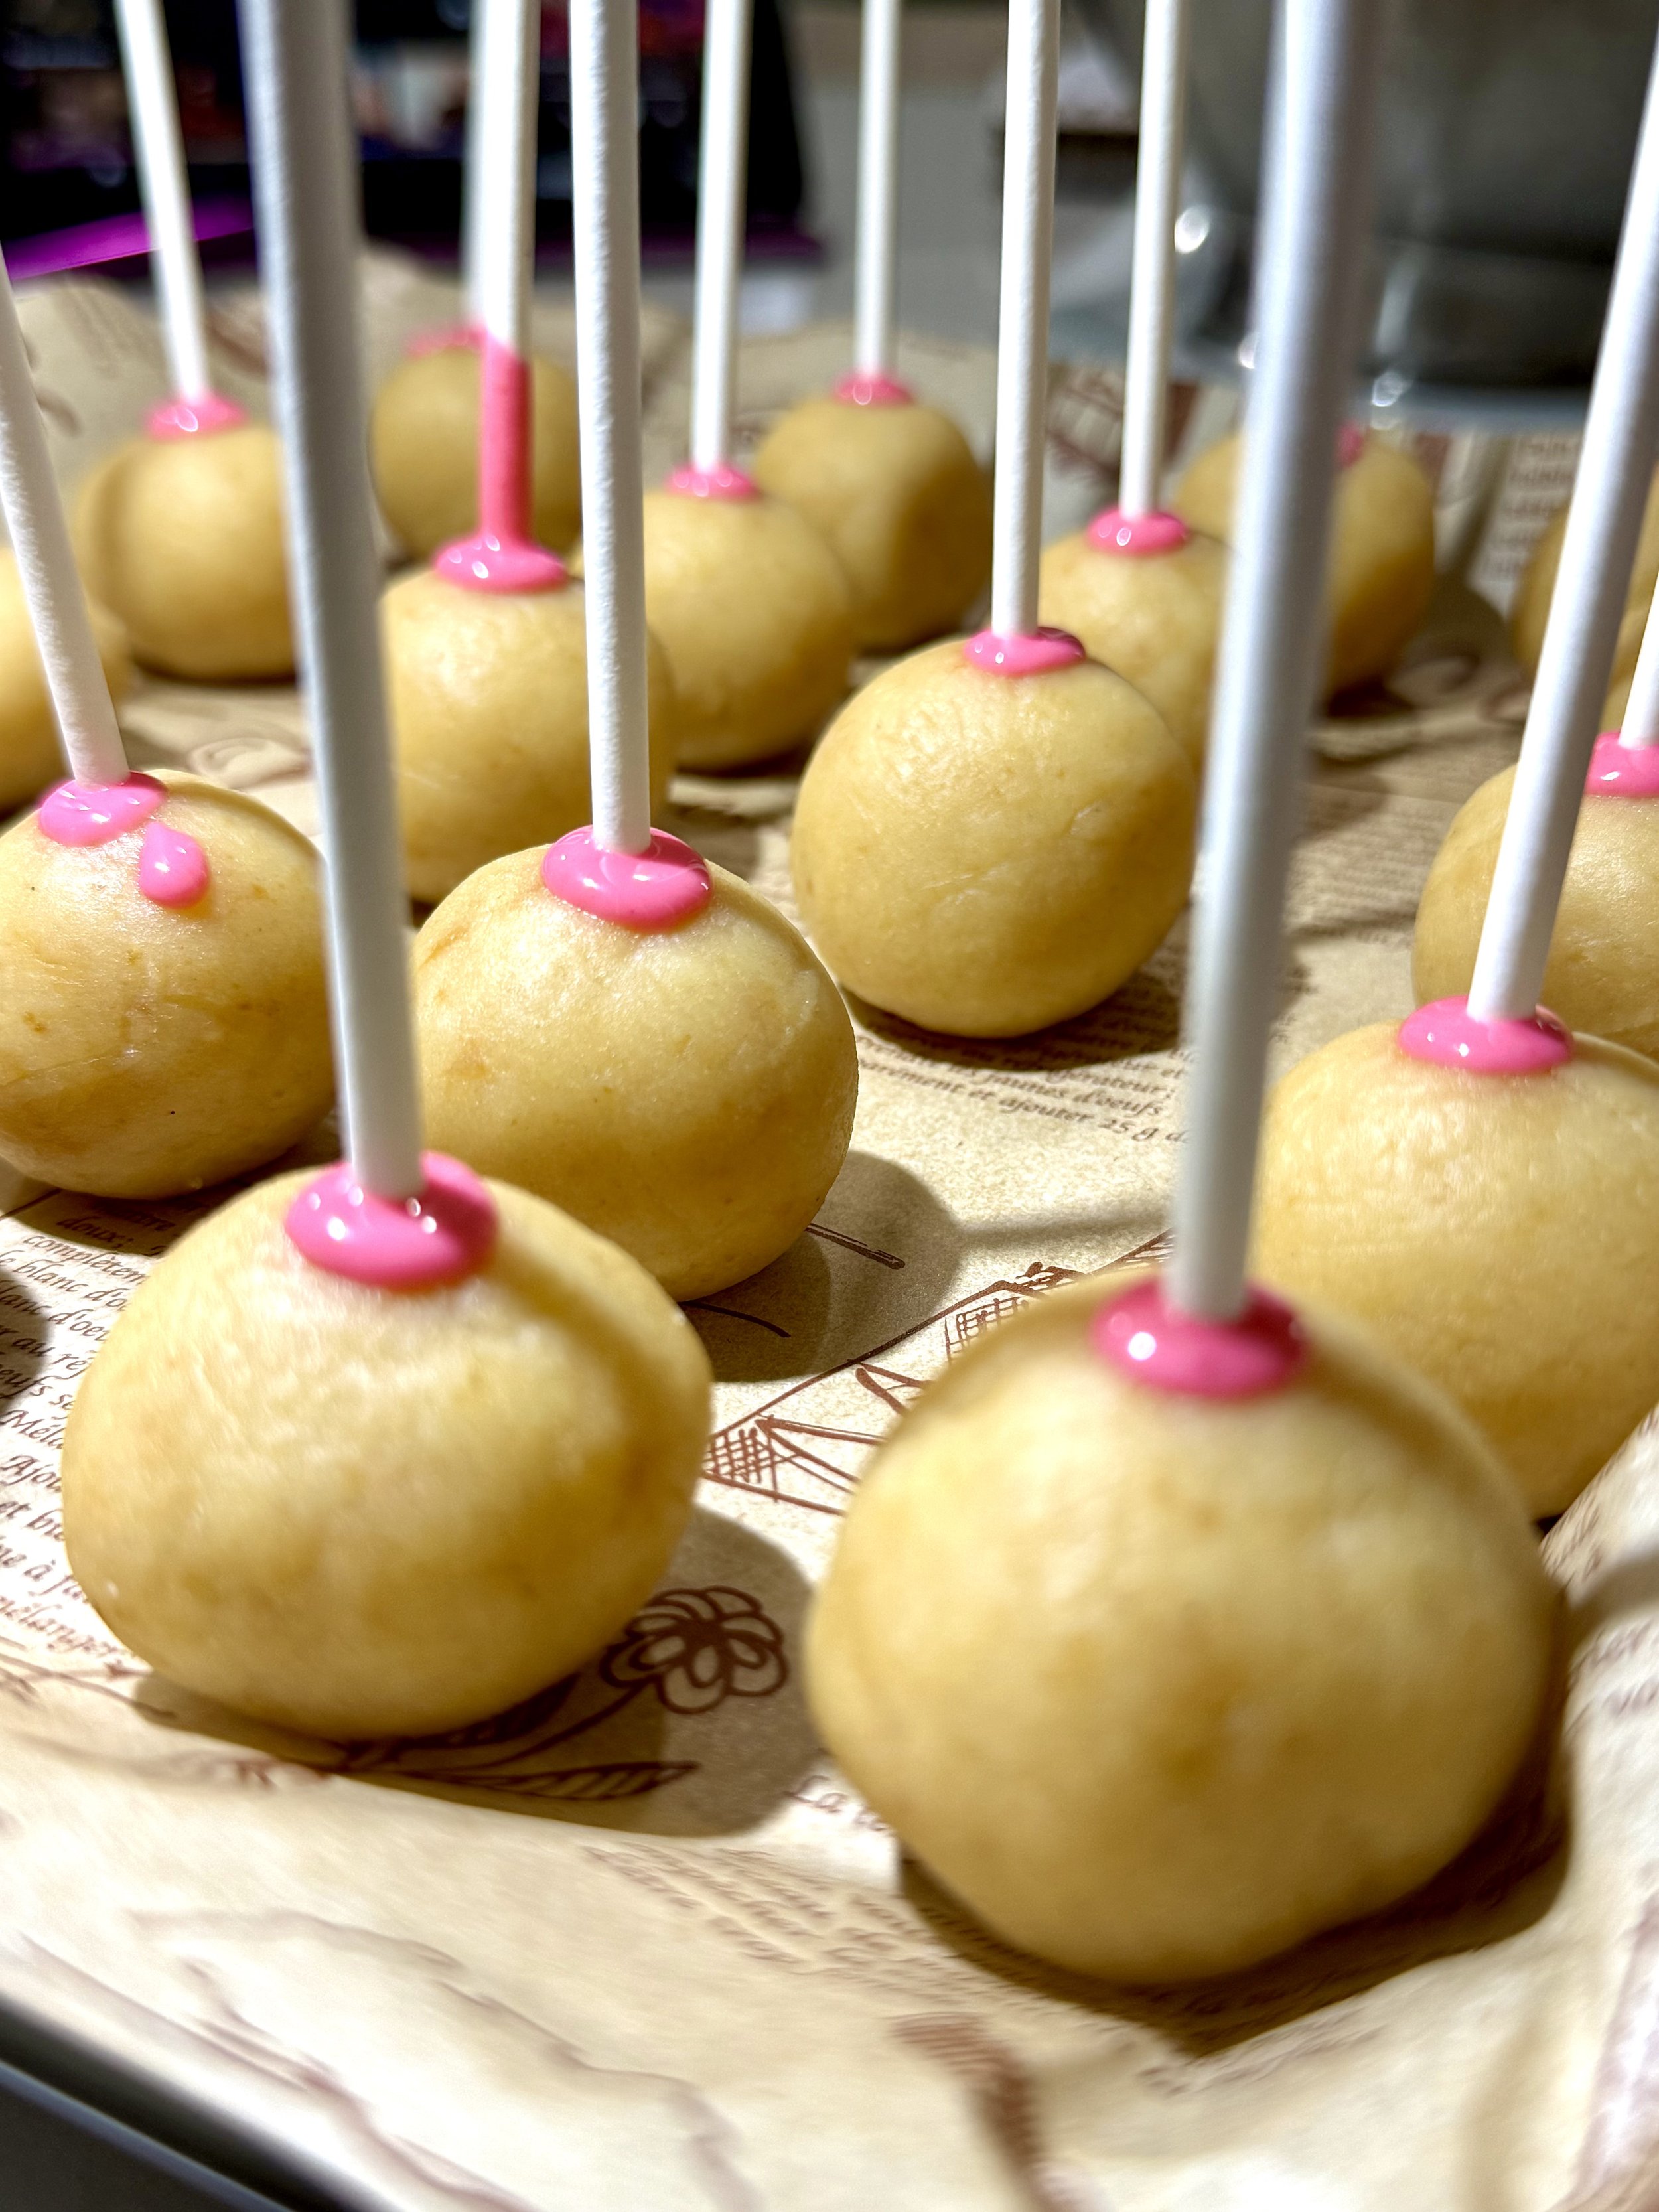
Dip each stick into melted pink chocolate. Insert halfway into each ball. Chill again to set.
Why: This "glue" keeps the stick from sliding out.
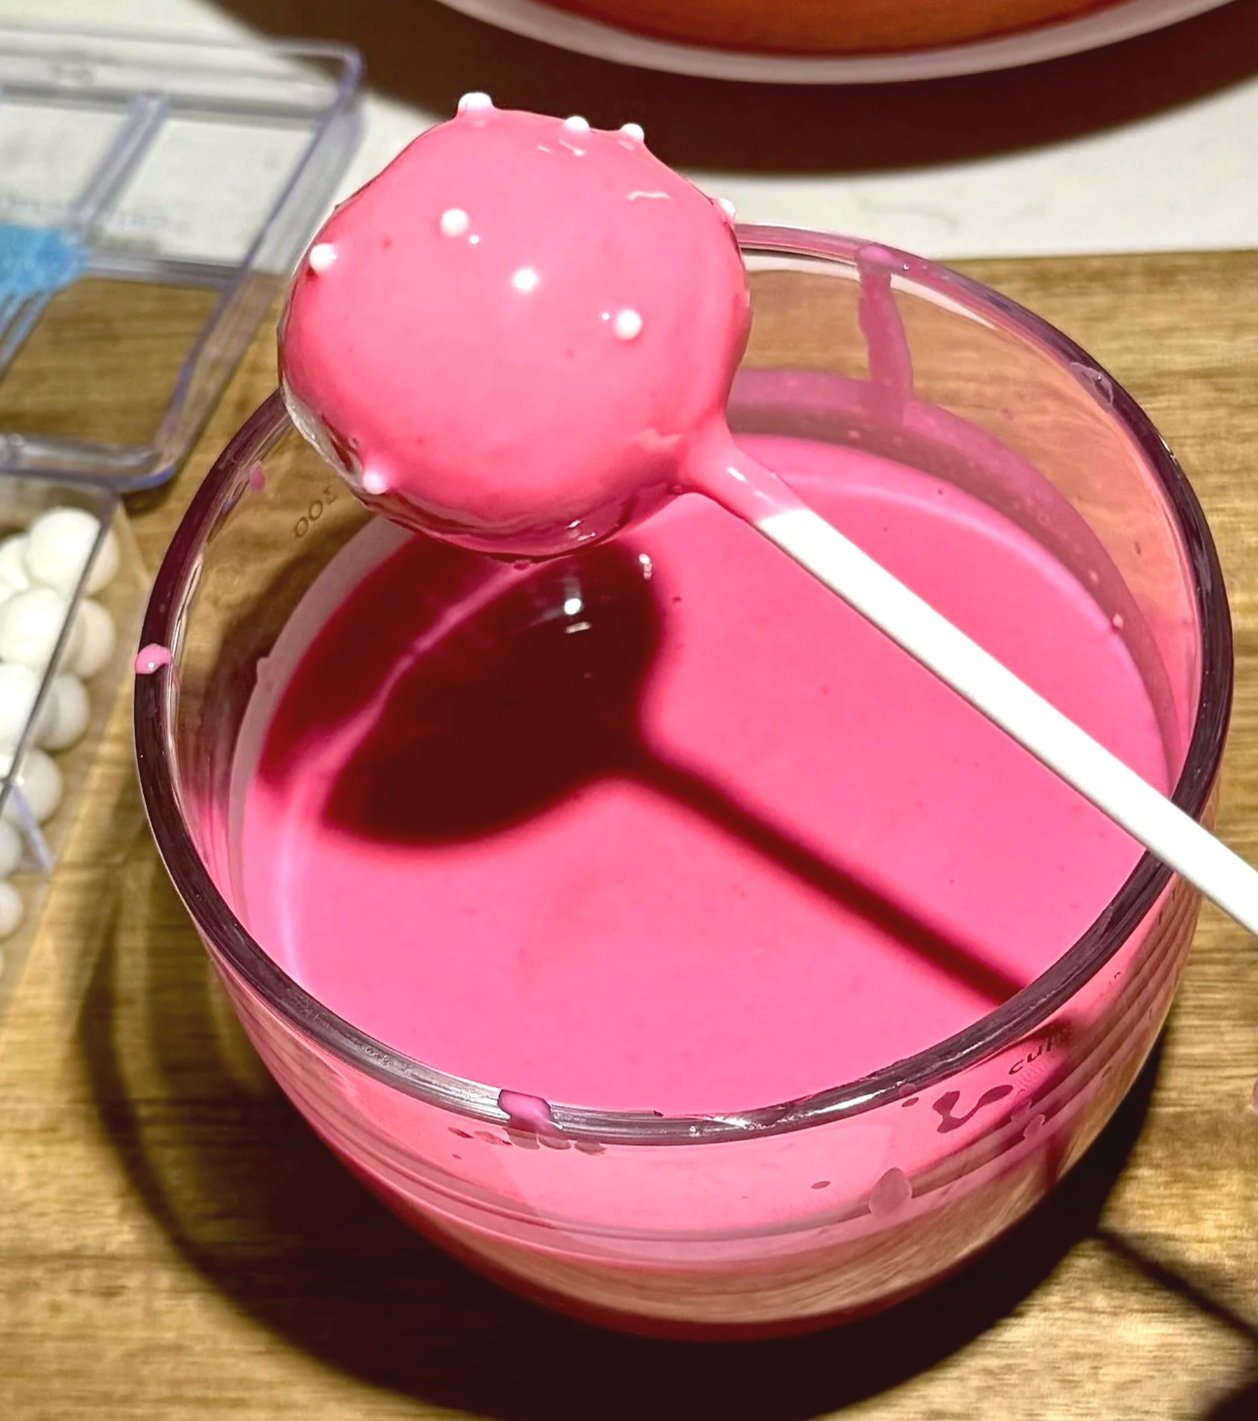
5. Dip in Pink Chocolate
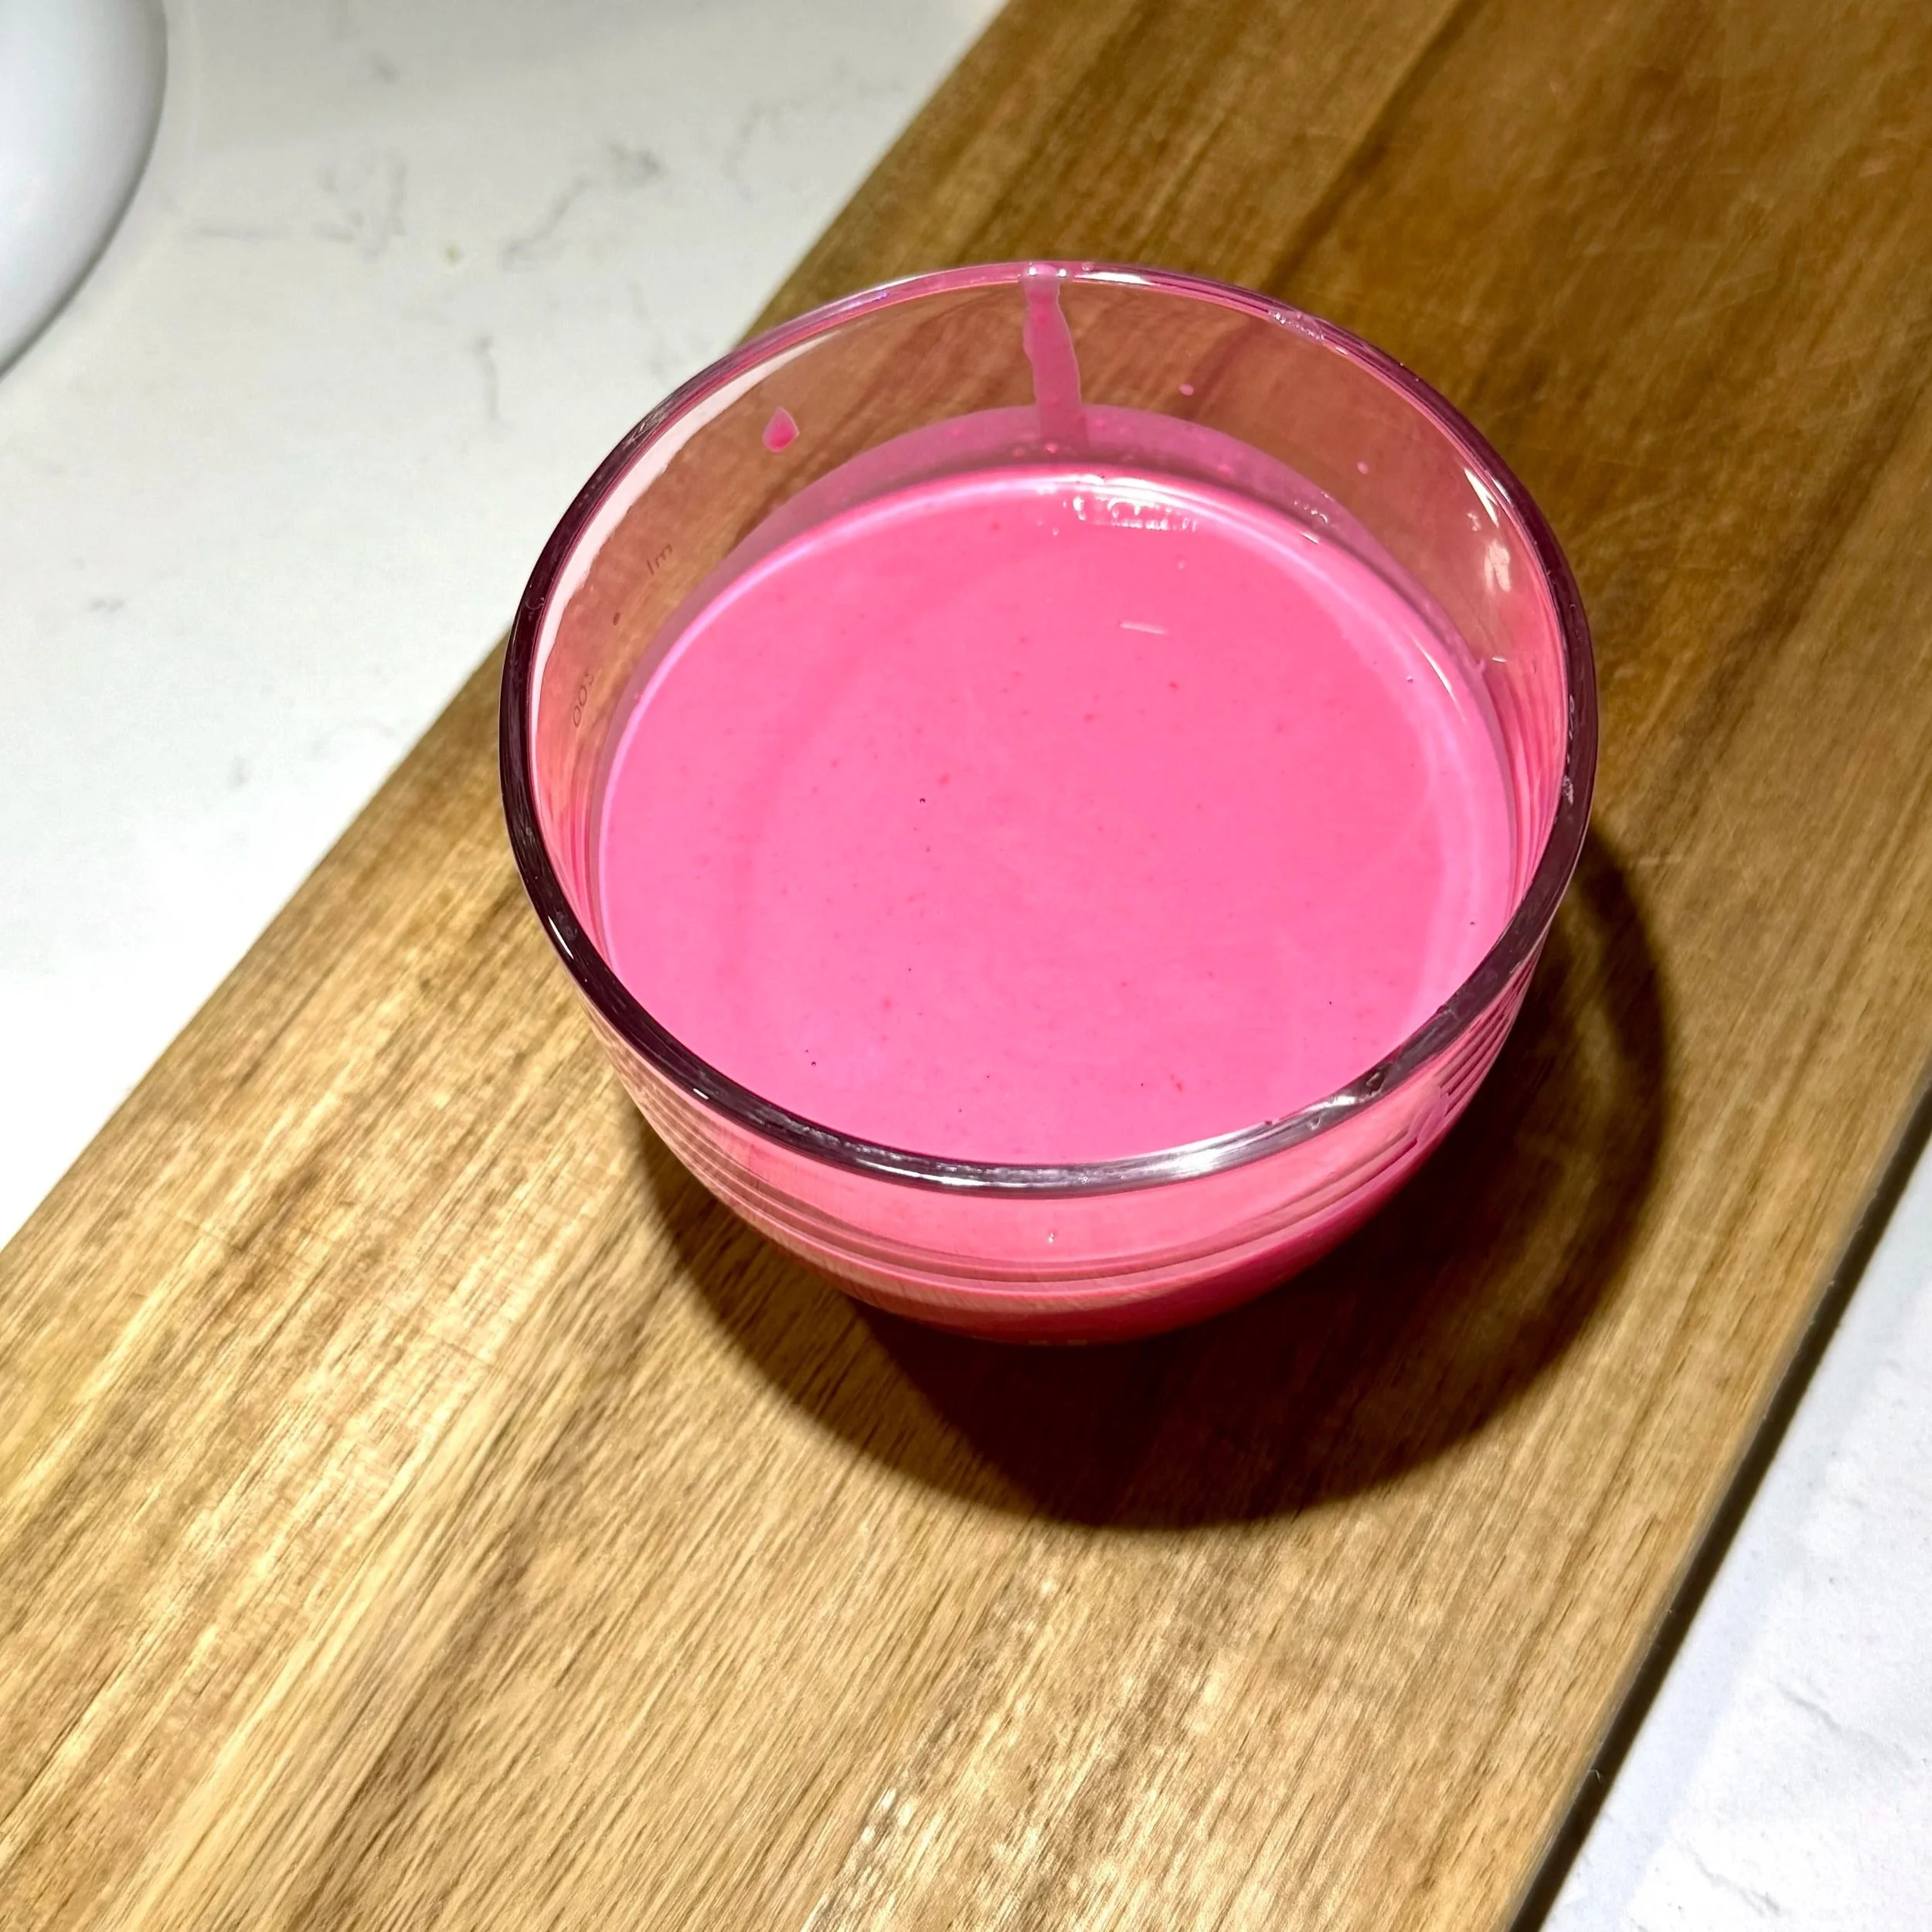
Melt pink chocolate melts with 1 tablespoon coconut oil.
Dip straight down, lift straight up.
Tap gently to remove excess.
Add sprinkles immediately.
Stand upright to dry.
Pro tip: If the coating is too thick, add ½ teaspoon more coconut oil.
How to Freeze Cake Pop Dough Balls (Best Method)
Freezing is perfect for meal prep, parties, or leftovers.
Freeze them undipped
Dipping before freezing causes cracking and condensation.
How to freeze
Place rolled balls on a parchment‑lined tray.
Freeze 20-30 minutes.
Transfer to a freezer bag or airtight container.
Freeze up to 2 months.
How to thaw
Thaw in the fridge overnight or
Thaw on the counter 20-30 minutes
Important: Do NOT dip while cold - cold cake pops crack the chocolate.
Foolproof Tips for Perfect Cake Pops
These are the tips that make your cake pops look professional.
1. Use a cookie scoop for identical size
A 1‑tablespoon scoop gives you perfect spheres.
2. Press first, then roll
Pressing removes air pockets → smoother pops.
3. Chill between every step
Warm dough = sliding sticks + cracked coating.
4. Add coconut oil to the melts
This gives you the Starbucks‑smooth finish.
5. Don't swirl when dipping
Dip straight down and up for a clean shell.
6. Tap gently
Hard tapping = cake ball falls off the stick.
Troubleshooting Guide (Fix Any Problem)
My cake pops are cracking
✔ Pops were too cold
✔ Coating was too hot
✔ Too much frosting in the dough
Fix: Let pops sit at room temp 10 minutes before dipping.
My cake pops are falling off the stick
✔ Dough too soft
✔ Not enough chilling
✔ Stick not dipped in chocolate first
Fix: Add 1-2 teaspoon more cake crumbs or chill longer.
My coating is too thick
✔ Add ½-1 teaspoon coconut oil
✔ Microwave 10 seconds at a time
✔ Stir well - melts burn easily
My coating looks bumpy
✔ Pops were too cold
✔ Chocolate overheated
✔ Not enough oil added
Frequently Asked Questions
Can I use oat milk instead of whole milk?
Yes! Whole milk gives the richest texture, but oat milk works great. You may need a tiny bit more frosting when forming the dough.
Can I make these ahead?
Yes - freeze the undipped balls up to 2 months.
Can I use white chocolate instead of candy melts?
You can, but white chocolate is thicker and trickier. Candy melts give the smoothest finish.
Why do my cake pops crack?
Temperature difference. Let the balls warm slightly before dipping.
How long do finished cake pops last?
Up to 5 days in the fridge, or 2 months frozen (undipped).
Final Thoughts
These homemade Starbucks Birthday Cake Pops are soft, sweet, nostalgic, and honestly better than the original. Once you learn the technique, you can switch up colors, flavors, and themes for any celebration.
Starbucks Birthday Cake Pop - From‑Scratch Version
Ingredients
Vanilla Cake
- 1 ¼ cups all-purpose flour
- 1 cup granulated sugar
- 1 ¼ teaspoon baking powder
- ¼ teaspoon fine salt
- ½ cup unsalted butter, softened
- 2 large eggs
- 1 teaspoon vanilla extract
- ½ cup whole milk (oat milk works too)
Buttercream
- 3 tablespoon unsalted butter, softened
- 1 cup powdered sugar
- 1 teaspoon vanilla extract
- 1-2 teaspoon milk
Coating
- Pink chocolate melts
- 1 tablespoon coconut oil or shortening
- White nonpareils
- Cake pop sticks
Instructions
- Bake the Vanilla Cake Preheat oven to 350°F. Line an 8x8 pan with parchment. Whisk flour, baking powder, and salt. Cream butter + sugar until fluffy. Add eggs and vanilla. Alternate dry ingredients with milk. Bake 22-26 minutes. Cool completely. Why this matters: Warm cake = gummy dough. Cool cake = perfect truffle texture.
- Make the Buttercream Beat butter until creamy. Add powdered sugar and vanilla. Add milk until smooth and soft - not stiff. Tip: You only need a little frosting. Too much = mushy pops.
- Form the Cake Pop Dough Crumble the cooled cake into fine crumbs. Add 2-3 tablespoons of frosting. Mix with your hands until it forms a soft dough. Roll into tight 1‑tablespoon balls. Chill 10-15 minutes. Texture check: Cracking? Add ½ teaspoon frosting. Sticky? Chill 5 minutes.
- Insert the Sticks Dip each stick into melted pink chocolate. Insert halfway into each ball. Chill again to set. Why: This "glue" keeps the stick from sliding out.
- Dip in Pink Chocolate Melt pink chocolate melts with 1 tablespoon coconut oil. Dip straight down, lift straight up. Tap gently to remove excess. Add sprinkles immediately. Stand upright to dry. Pro tip: If the coating is too thick, add ½ teaspoon more coconut oil.
Leave a Reply