
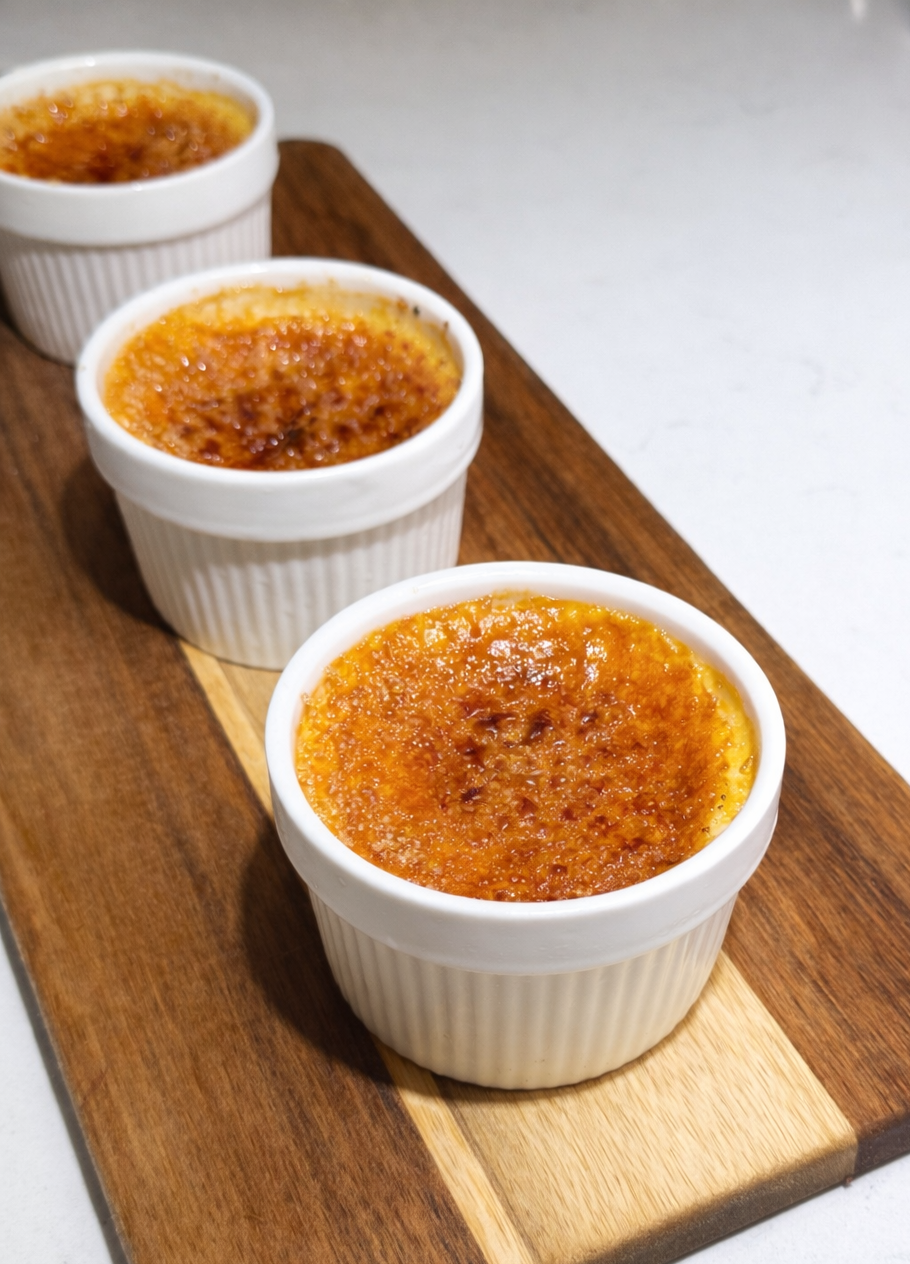
Crème brûlée is one of those desserts that feels luxurious and impressive, yet is surprisingly simple to make at home. With a creamy vanilla custard base and a crisp caramelized sugar topping, this classic French dessert delivers the perfect contrast of textures in every spoonful.
In this guide, I'll walk you through exactly how to make crème brûlée at home, including expert tips to avoid curdling, bubbles, or grainy custard. Whether you're hosting a dinner party or just craving an elevated dessert, this recipe delivers consistent, restaurant-quality results every time.
What Is Crème Brûlée?
Crème brûlée (French for "burnt cream") is a baked custard dessert made from:
egg yolks
heavy cream
sugar
vanilla
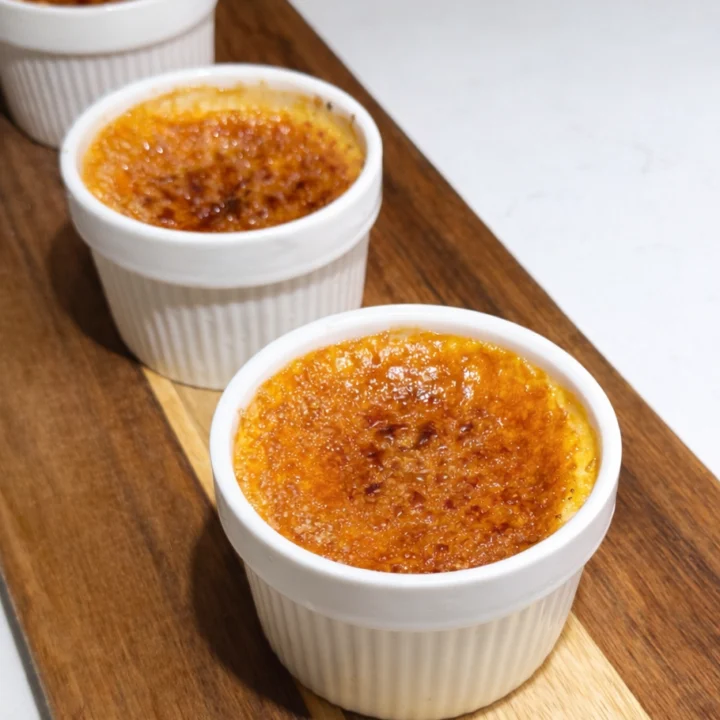
After chilling, the custard is topped with sugar and caramelized using a kitchen torch, creating a thin, crackly crust over a rich, silky base.
Unlike flan or crème caramel, crème brûlée has no gelatin and relies entirely on egg yolks for structure.
Why This Crème Brûlée Recipe Works
This recipe follows professional pastry techniques that ensure:
Ultra-smooth custard with no air bubbles
Even baking without curdling
A perfectly crisp brûléed sugar top
Consistent results for small or scaled batches
It's been tested with standard 6-oz ramekins and works beautifully for entertaining.
Ingredients
(Makes 3 servings - 6 oz ramekins)
3 large egg yolks
1½ cups heavy cream
¼ cup + 1½ teaspoons granulated sugar
¾ teaspoon vanilla extract or vanilla bean paste
Small pinch of salt
2-3 tablespoons granulated sugar (for topping)
How to Make Crème Brûlée (Step-by-Step)
1. Heat the Cream
In a small saucepan, heat the heavy cream over medium heat until just steaming. Do not let it boil. Remove from heat and set aside.
2. Whisk the Yolks
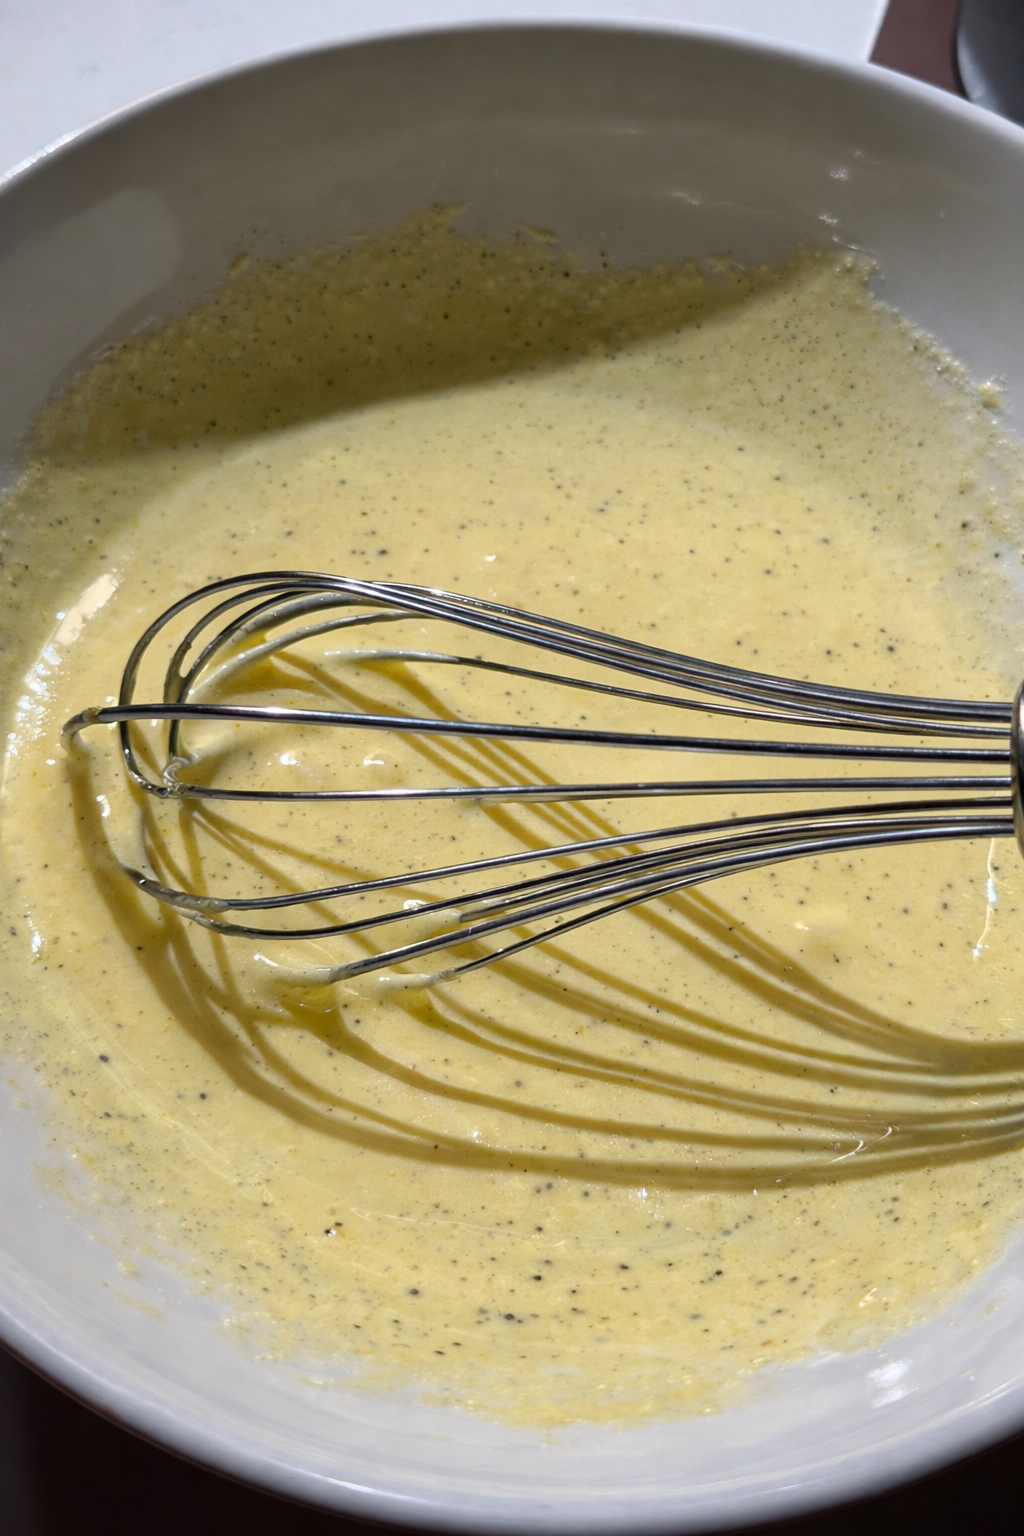
In a mixing bowl, whisk the egg yolks, sugar, and salt until pale, smooth, and slightly thickened. Avoid whipping air into the mixture - gentle whisking is key for a silky texture.
3. Temper the Custard
Slowly pour the warm cream into the yolk mixture while whisking continuously. This gradual process prevents the eggs from scrambling and keeps the custard smooth.
Stir in the vanilla.
4. Strain the Custard
Pour the mixture through a fine-mesh sieve into a measuring cup or bowl. This step removes bubbles and ensures a perfectly smooth custard.
5. Prepare a Water Bath
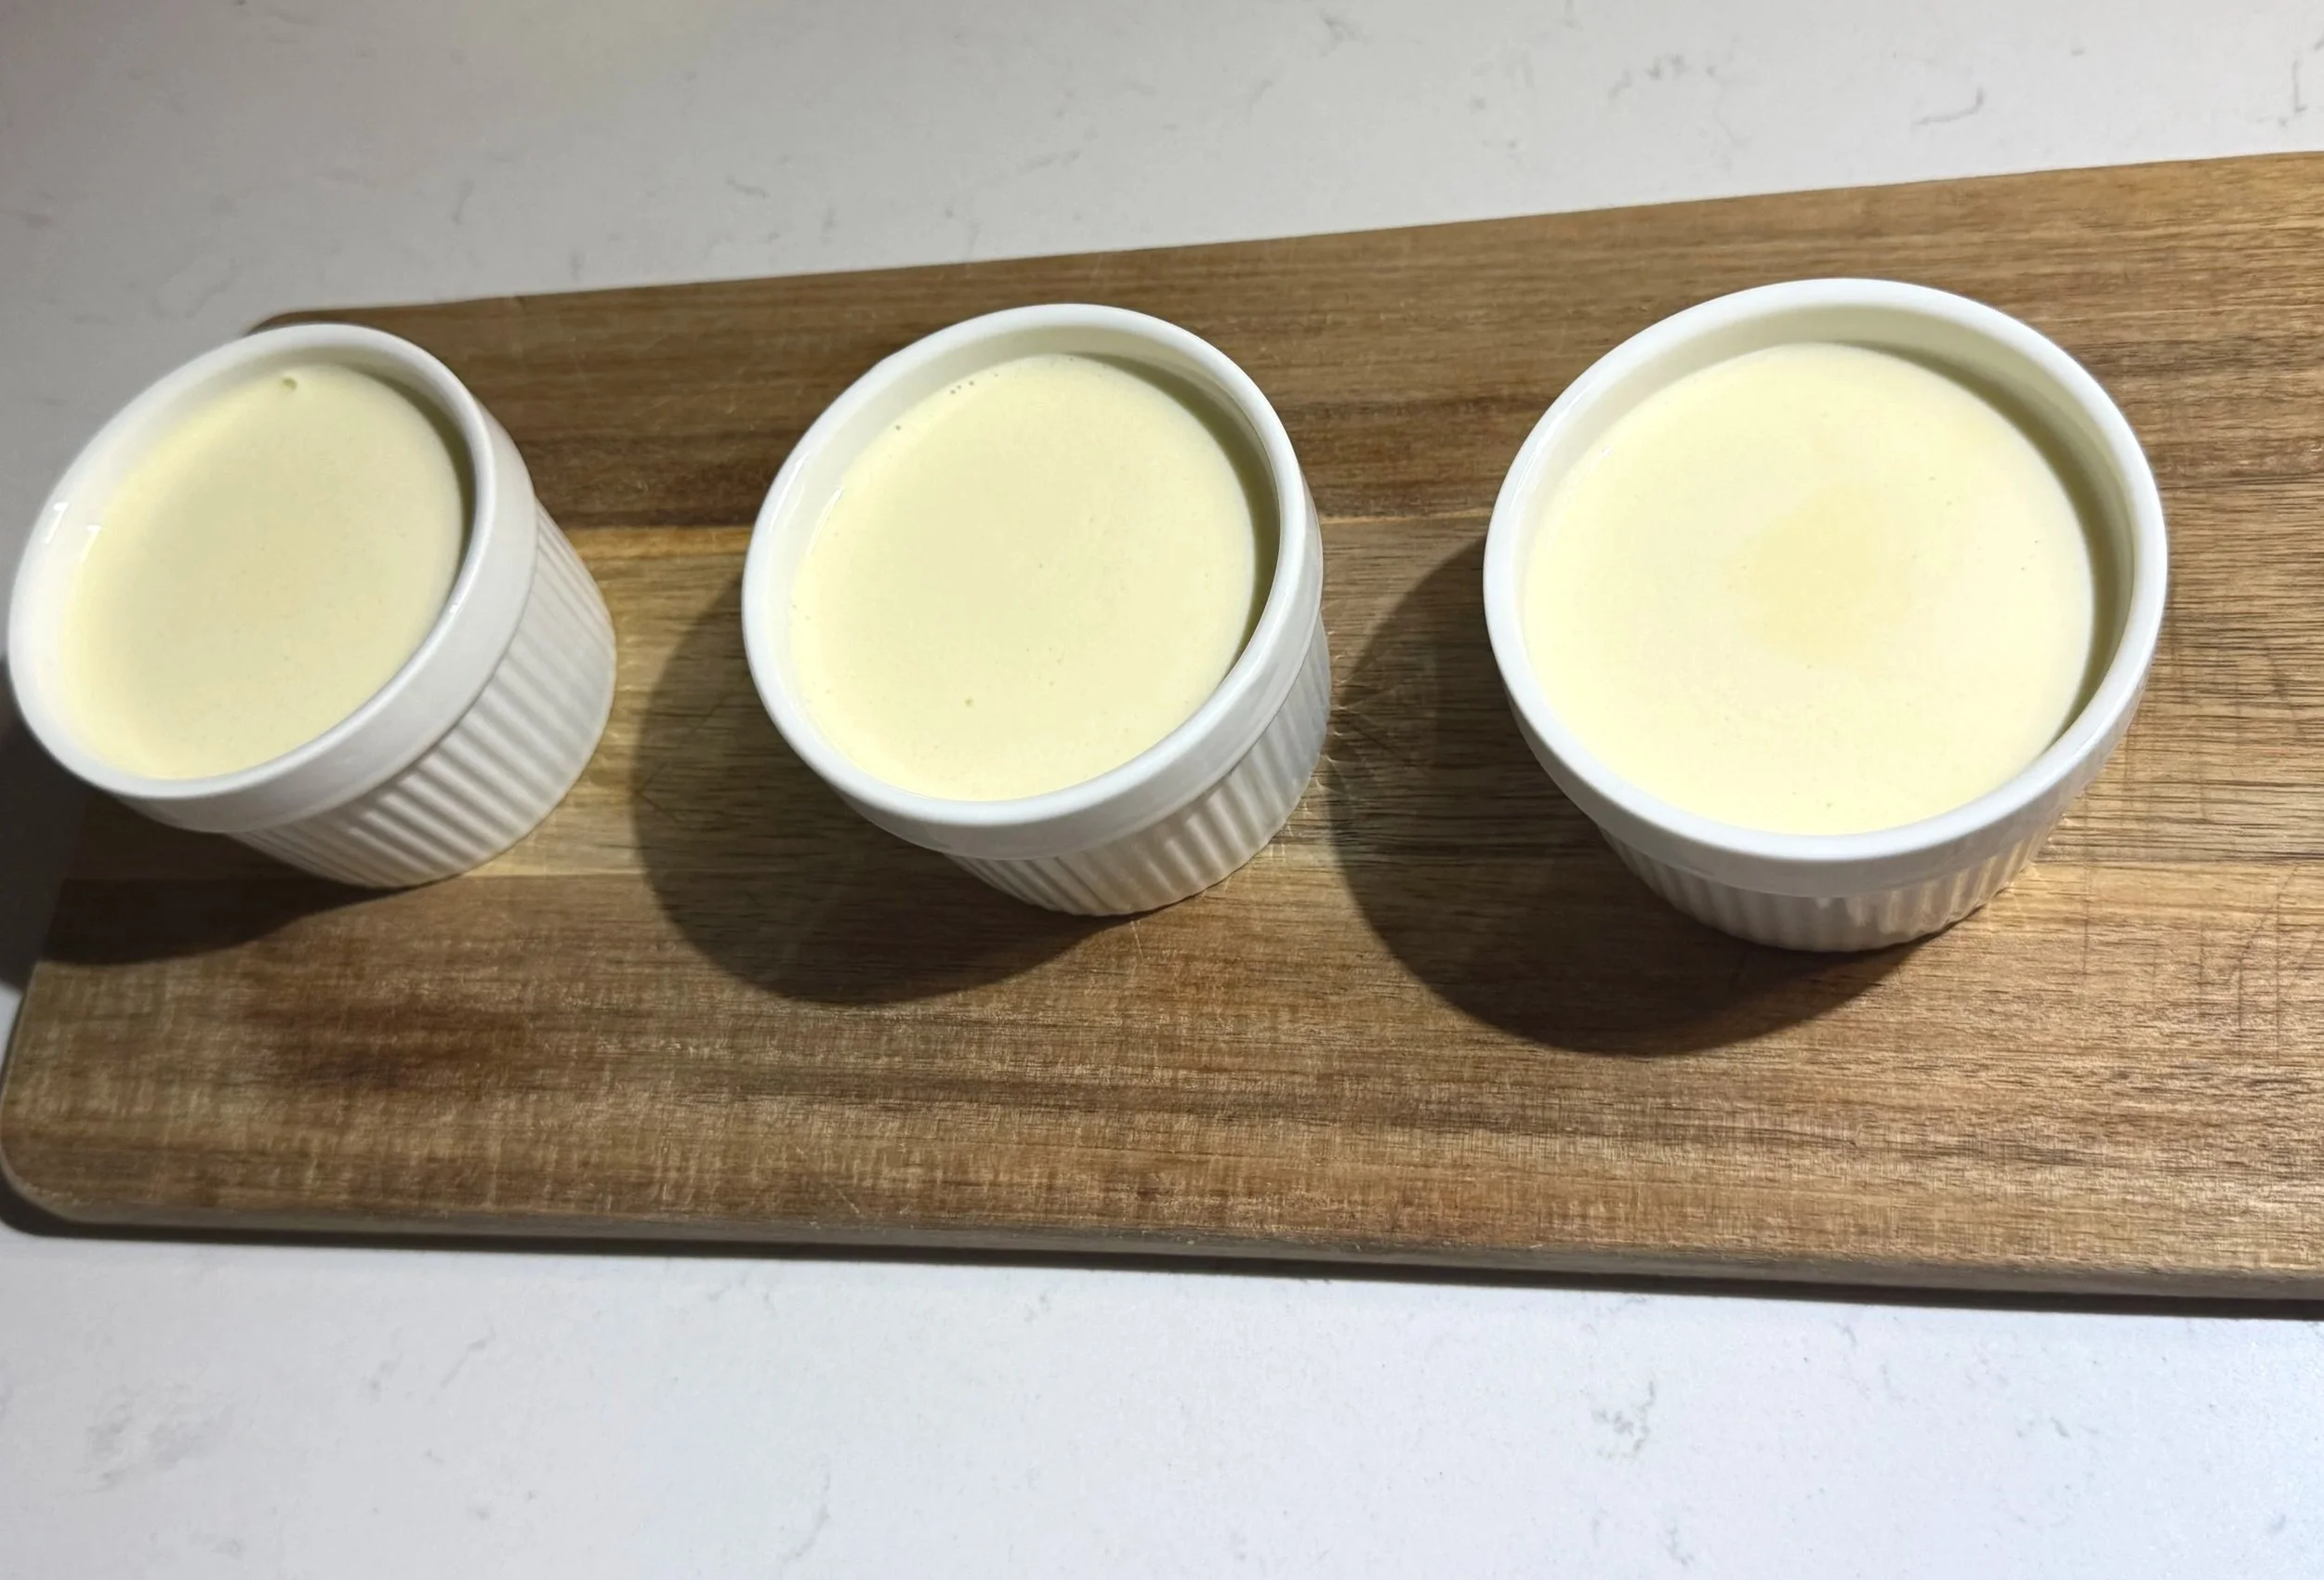
Divide the custard evenly between 3 (6-oz) ramekins. Place them in a deep baking dish and carefully pour hot water into the dish until it reaches halfway up the sides of the ramekins.
6. Bake
Bake at 325°F (163°C) for 35-40 minutes, until the edges are set but the centers still jiggle slightly when gently shaken.
7. Cool and Chill
Remove the ramekins from the water bath and let them cool at room temperature. Refrigerate uncovered for at least 2 hours, preferably overnight.
How to Torch Crème Brûlée
Just before serving:
Sprinkle an even, thin layer of granulated sugar (about 1-2 teaspoons) over each custard.
Use a kitchen torch to melt the sugar until bubbling and amber in color.
Let the sugar harden for about 1 minute before serving.
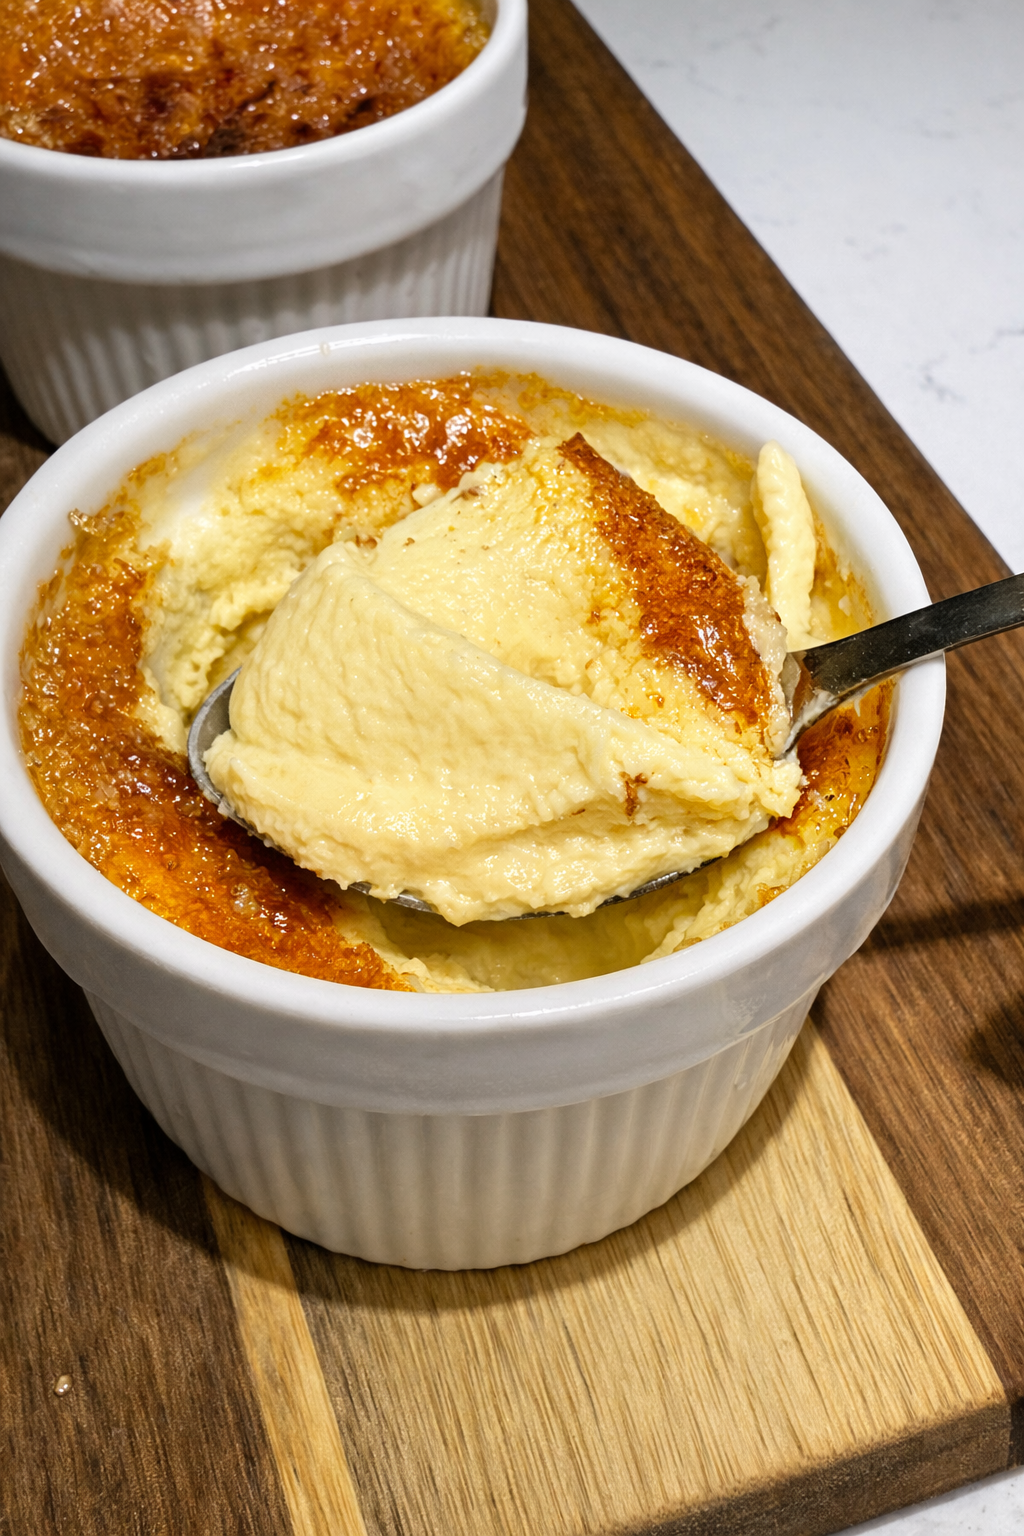
The result is a crisp, glass-like topping with a cold, creamy center.
Pro Tips for Perfect Crème Brûlée
Hand-whisking is best - mixers add too much air
Always strain the custard before baking
Bake low and slow to prevent curdling
Chill completely before torching
Torch sugar right before serving for best texture
Make-Ahead Instructions
Crème brûlée is ideal for entertaining:
Bake and chill up to 48 hours in advance
Keep refrigerated and uncovered
Torch the sugar just before serving
Frequently Asked Questions
Can I make crème brûlée without a torch?
Yes. Place ramekins under the oven broiler on high for 1-2 minutes, watching closely to avoid burning.
Why is my crème brûlée grainy?
Grainy custard is usually caused by overbaking or boiling the cream. Always bake until the center jiggles slightly.
Can I use milk instead of cream?
Heavy cream is strongly recommended. Milk produces a thinner, less luxurious texture.
What sugar is best for brûlée?
Regular granulated sugar works best for an even, crisp crust.
Final Thoughts
Crème brûlée is proof that simple ingredients and proper technique can create an unforgettable dessert. With its silky custard base and signature caramelized top, this classic recipe is elegant, timeless, and always impressive.
Once you master this method, you'll never need a restaurant version again.
Classic Crème Brûlée Recipe (Silky, Foolproof & Restaurant-Quality)
Ingredients
- 3 large egg yolks
- 1½ cups heavy cream
- ¼ cup + 1½ teaspoons granulated sugar
- ¾ teaspoon vanilla extract or vanilla bean paste
- Small pinch of salt
- 2 -3 tablespoons granulated sugar for topping
Instructions
- Heat the Cream In a small saucepan, heat the heavy cream over medium heat until just steaming. Do not let it boil. Remove from heat and set aside.
- Whisk the Yolks In a mixing bowl, whisk the egg yolks, sugar, and salt until pale, smooth, and slightly thickened. Avoid whipping air into the mixture - gentle whisking is key for a silky texture.
- Temper the Custard Slowly pour the warm cream into the yolk mixture while whisking continuously. This gradual process prevents the eggs from scrambling and keeps the custard smooth. Stir in the vanilla.
- Strain the Custard Pour the mixture through a fine-mesh sieve into a measuring cup or bowl. This step removes bubbles and ensures a perfectly smooth custard.
- Prepare a Water Bath Divide the custard evenly between 3 (6-oz) ramekins. Place them in a deep baking dish and carefully pour hot water into the dish until it reaches halfway up the sides of the ramekins.
- Bake
- Bake at 325°F (163°C) for 35-40 minutes, until the edges are set but the centers still jiggle slightly when gently shaken.
- Cool and Chill
- Remove the ramekins from the water bath and let them cool at room temperature. Refrigerate uncovered for at least 2 hours, preferably overnight.
- Crème brûlée is ideal for entertaining:
- Bake and chill up to 48 hours in advance Keep refrigerated and uncovered Torch the sugar just before serving
Leave a Reply